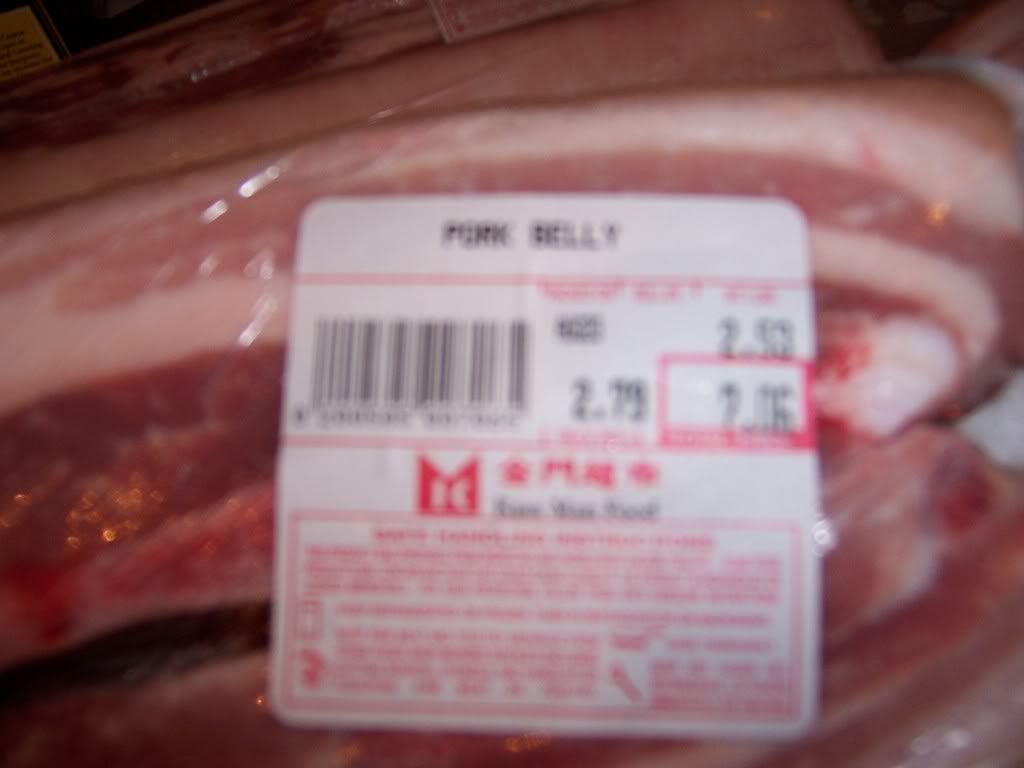
I made the trip to Kam Man Market in Quincy, MA with one goal in mind - pork belly. I read a thread on the OG linking to someone's blog who had attempted to make homemade bacon. It seems easy enough - cure it, smoke it, slice it, fry it, and eat it. I've got plans to use the smoker this Labor Day Weekend anyhow, so why not try some delicious homemade bacon?
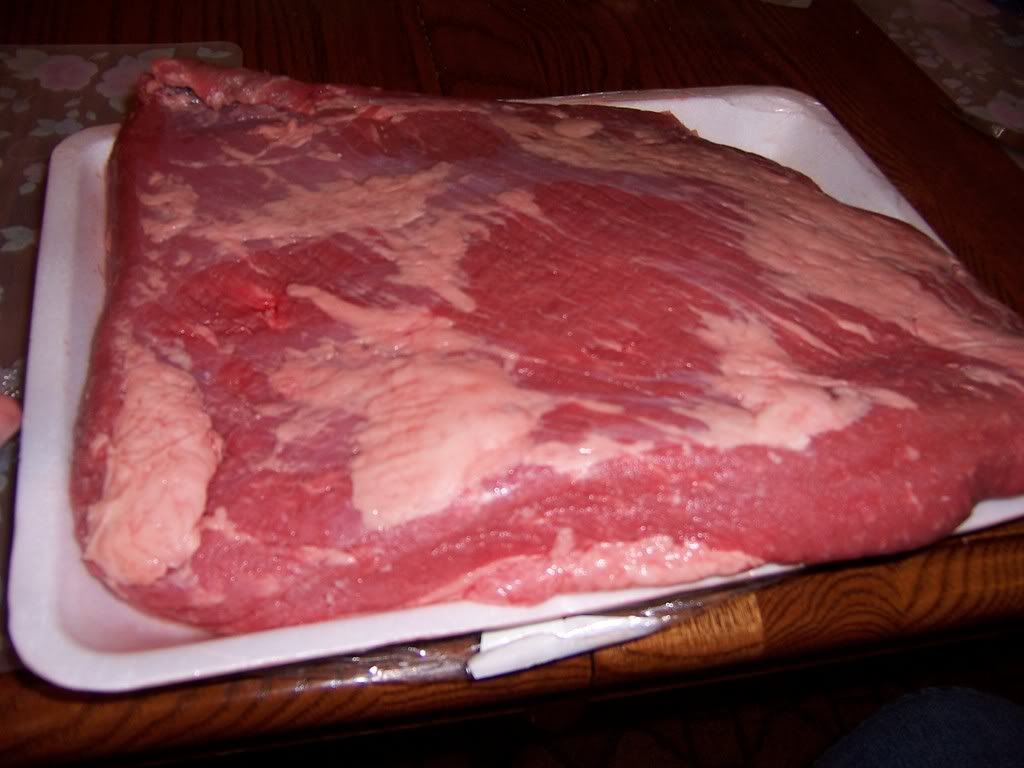
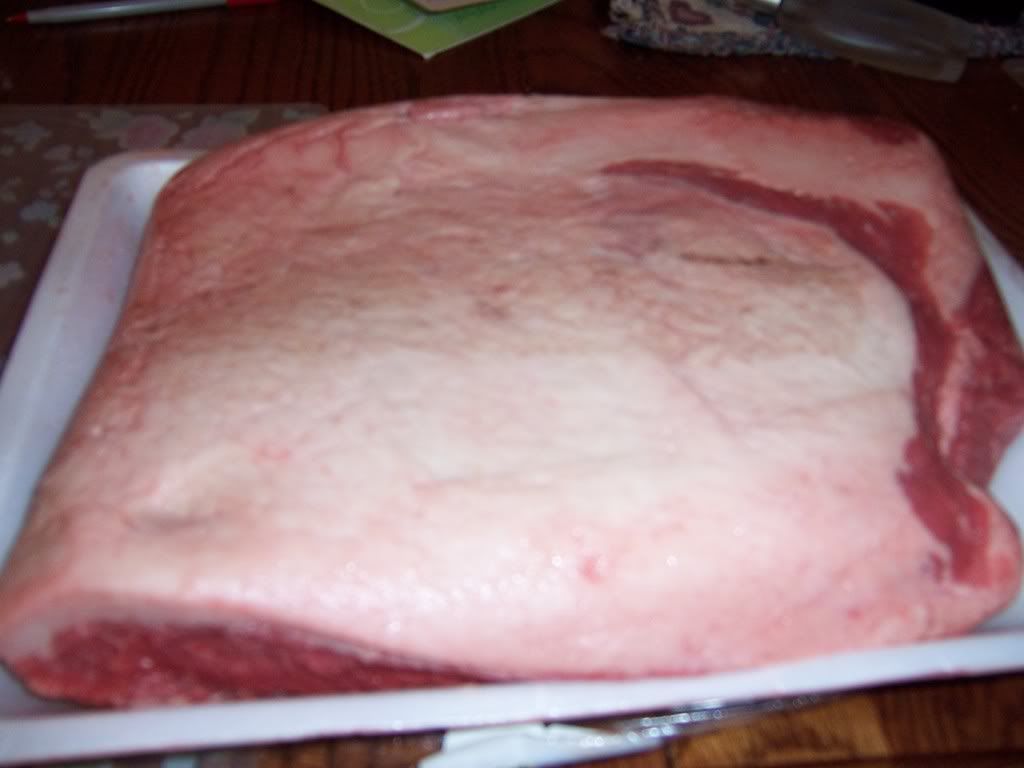
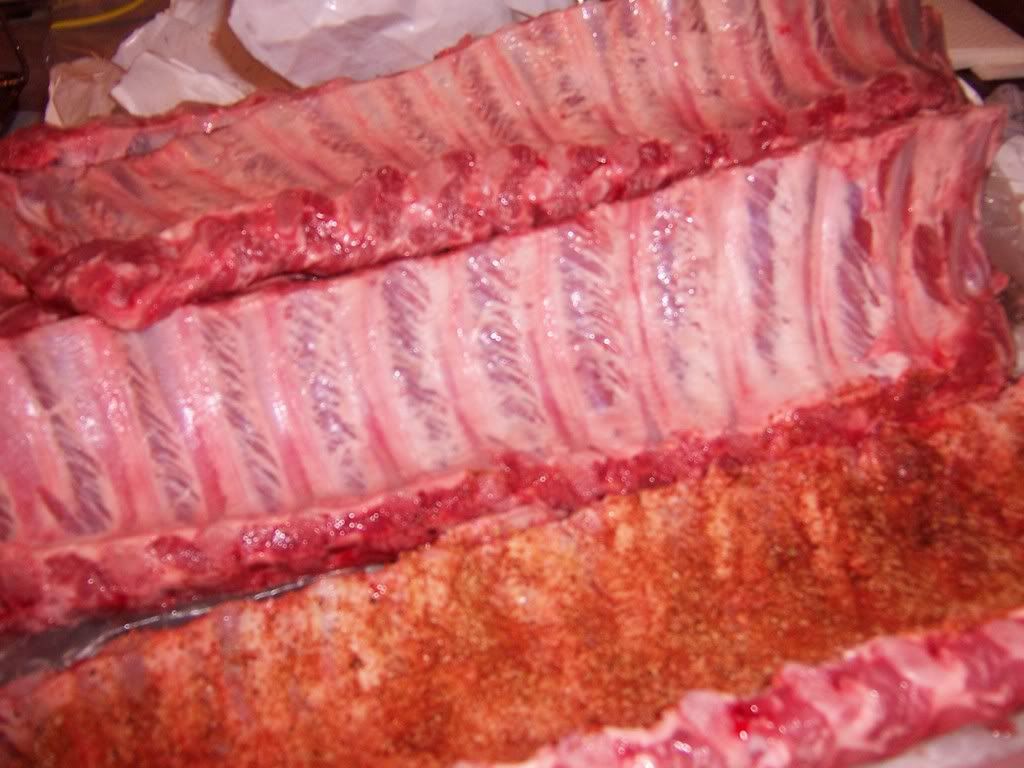
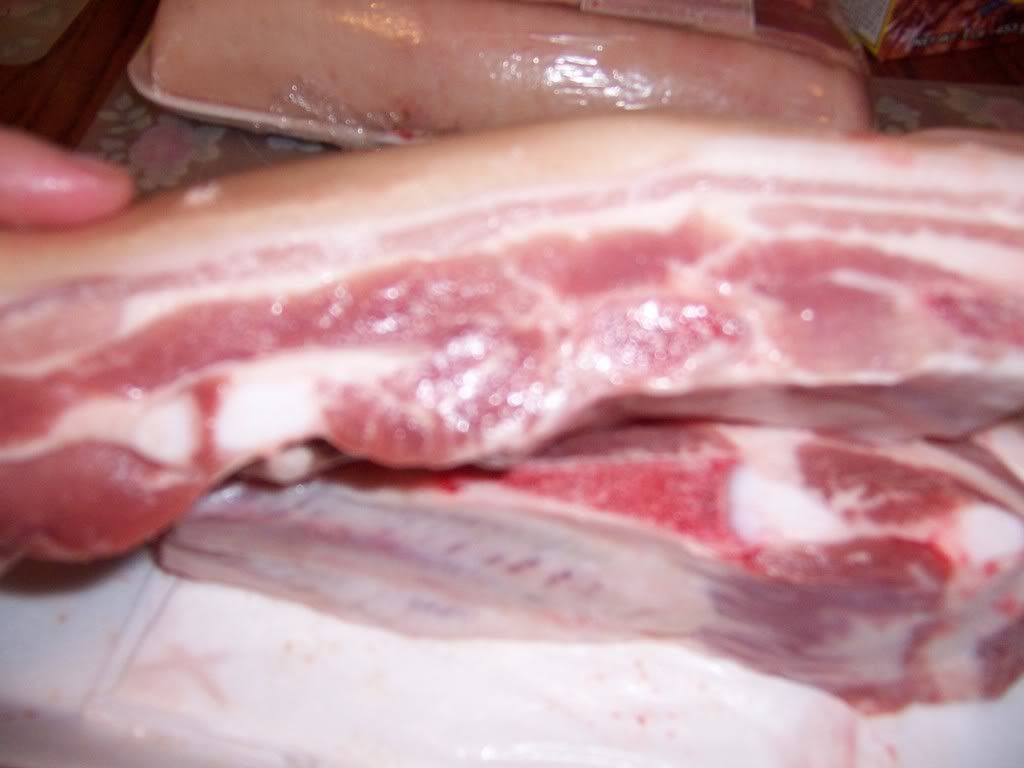
Kam Man didn't have any whole pork bellies left (at least that's what I believe me and the butcher concluded after 5 minutes of pointing and grunting to each other), so I had to settle for 3-inch thick slices. There's some bone in it, which I don't think is supposed to be there, but it should only add flavor while it's curing and cooking - I'll remove it afterwards. I had 6 slabs, each weighing about a pound.
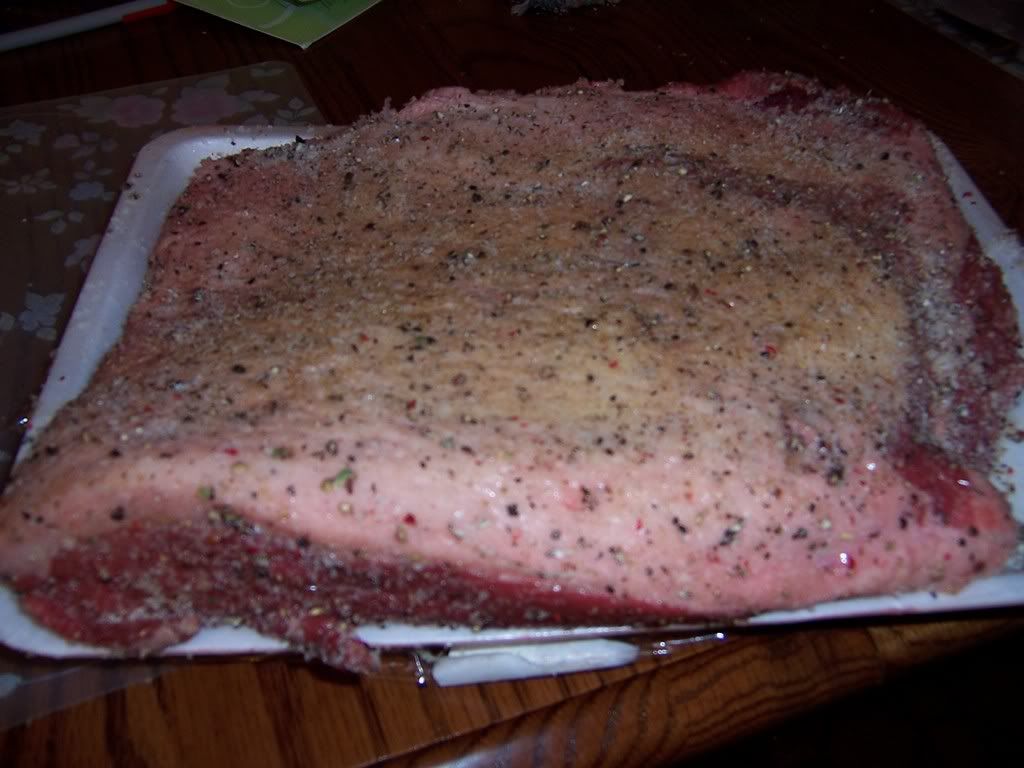
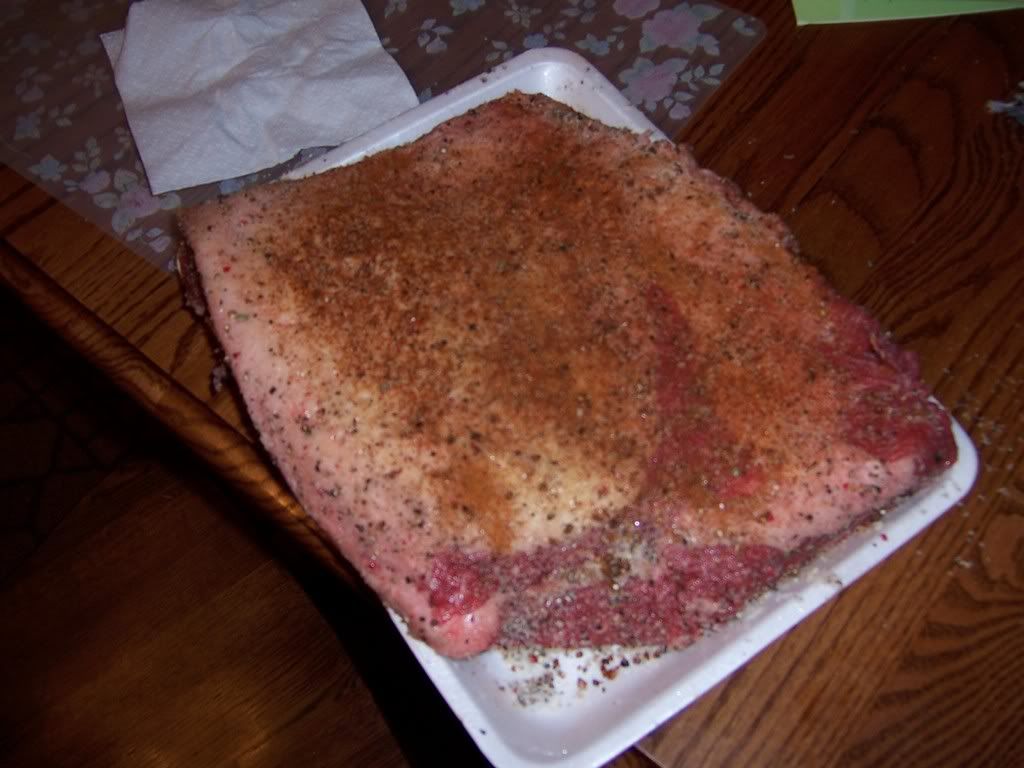
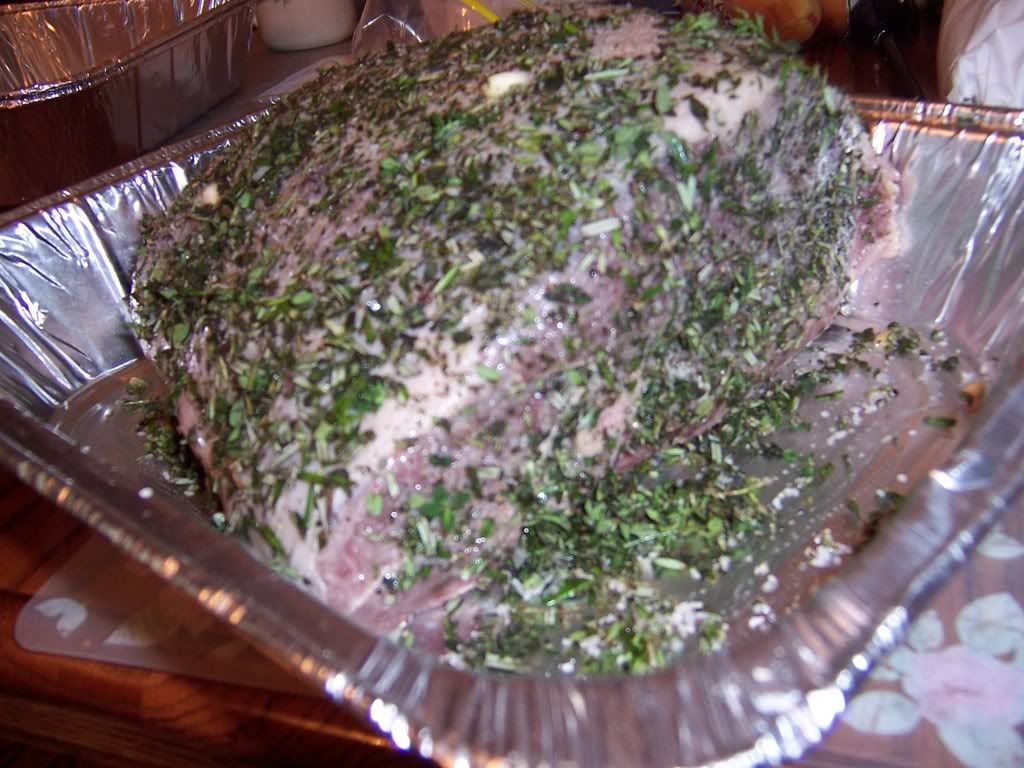
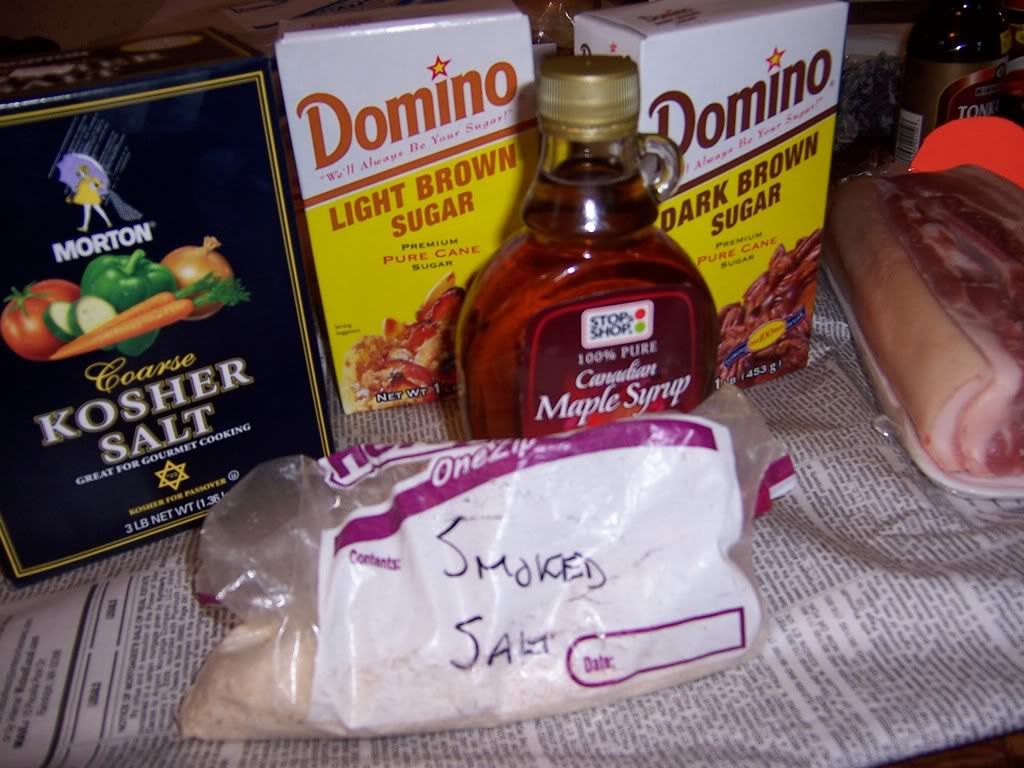
My cure comprised of light and dark brown sugar, kosher salt, black pepper, and (my homemade) smoked salt. I only had about 3/4 cup of the smoked salt, so I used that plus 1/4 cup of plain kosher salt. I added 1/2 cup each of the light and dark brown sugar, and about 2 tablespoons of black pepper.
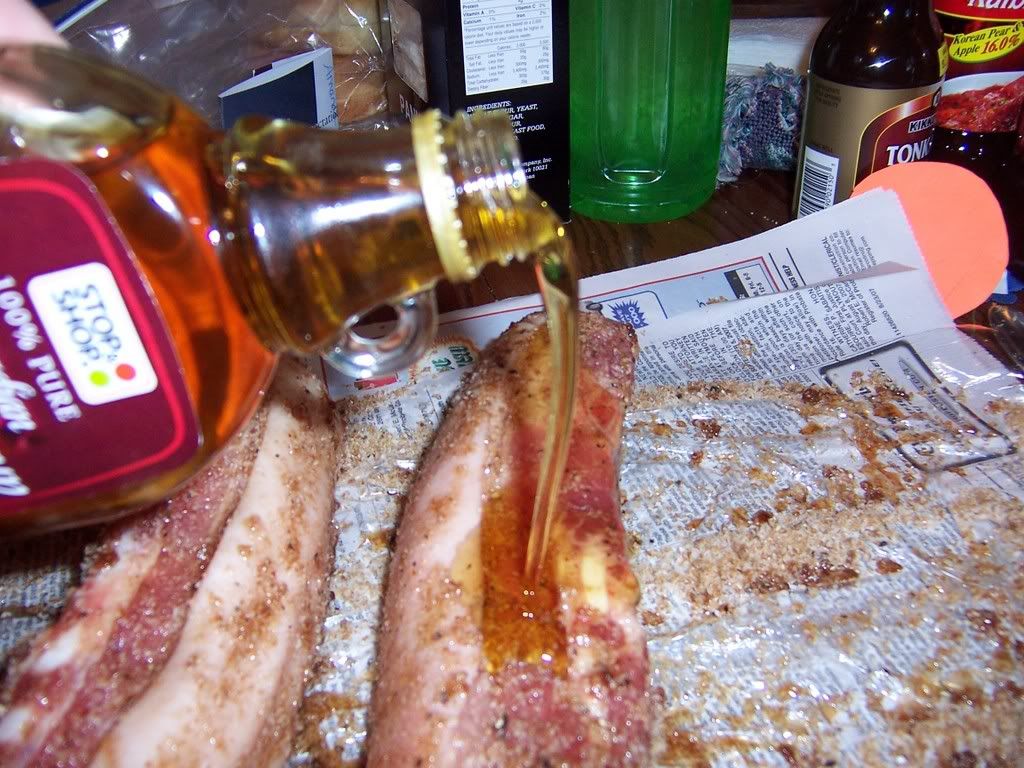
For the maple flavored bacon, I added some good ol' Stop and Shop maple syrup - I'm not sure how much, but enough to coat.
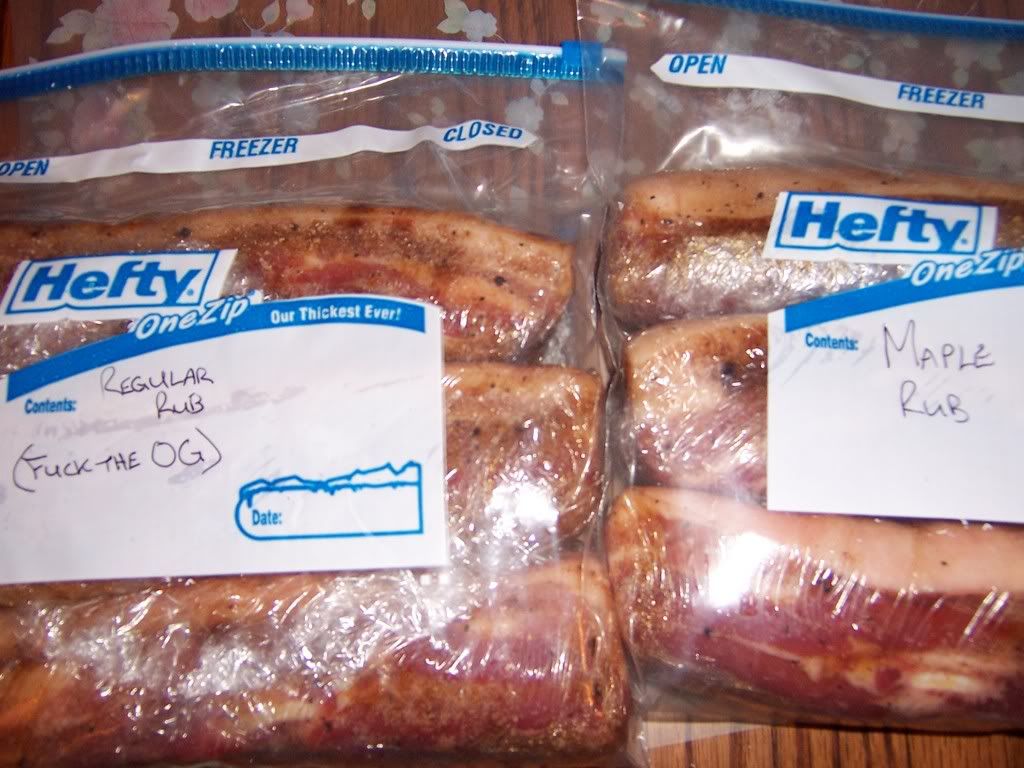
I wrapped each section tightly in plastic wrap, bagged & tagged them, and tossed them in the fridge. I'll turn them every day or so for a week.
Initial Concerns:
1. Since these are small slabs, I might over-cure the bacon, and end up with pork jerky.
2. I used too much maple syrup on the maple-flavored bacon, washing off a lot of the salt, which will lead to a lack of curing.
3. I'll fuck this up and be shitting blood for the next two weeks.
We're only 5 days in, and the meat has released a good amount of liquid, and the texture has firmed up quite a bit. I didn't bother taking a pic, since it's more of a "touch" thing that you wouldn't be able to see. I'm not sure if it's possible to over-cure bacon, but to be safe, I'm going to rinse the cure off early Friday morning, instead of Friday night as I had intended. Smoking day will be Saturday, since I'm going to be BBQing by balls off all day all day anyhow.
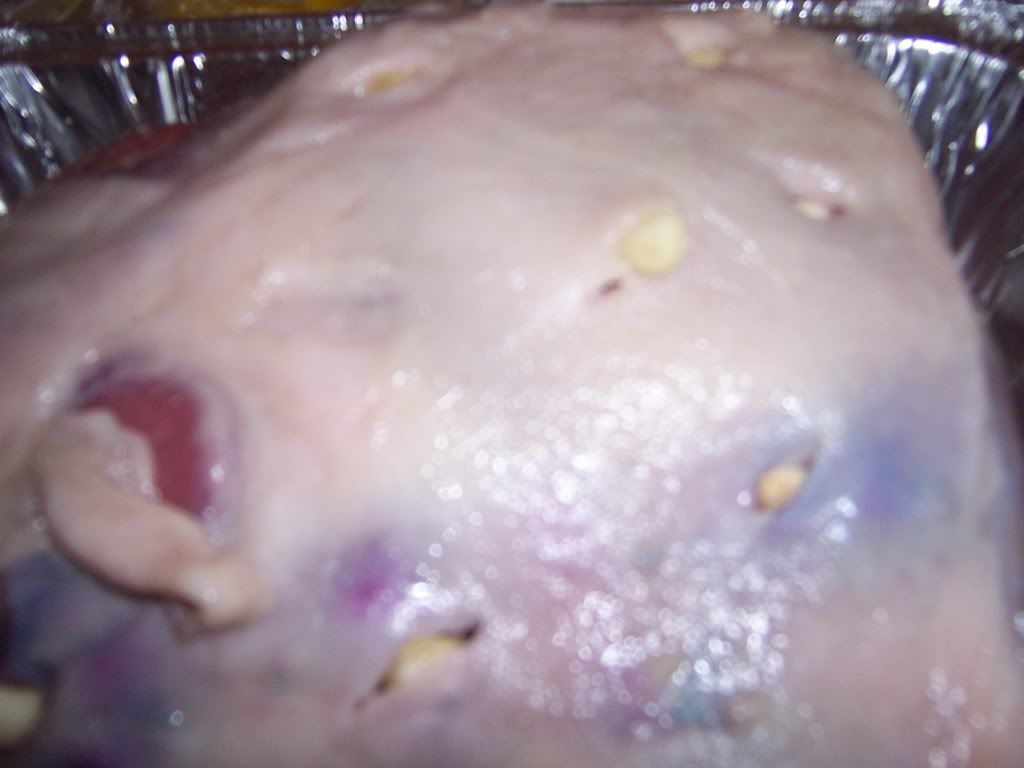
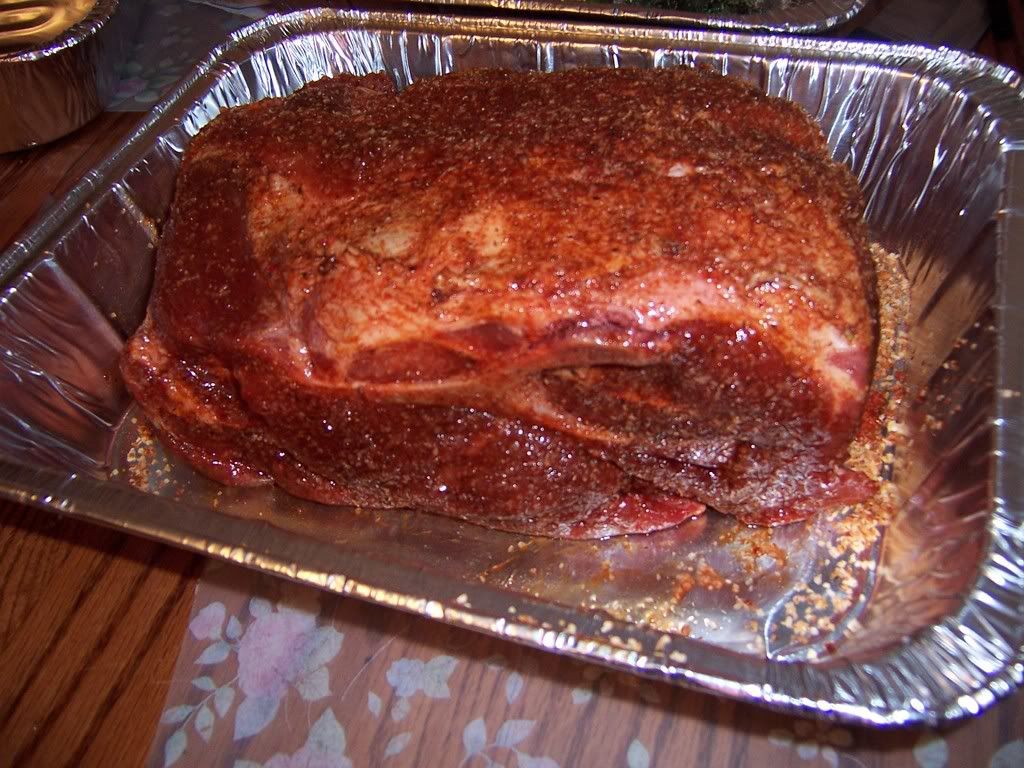
Friday morning, it was time to rinse off the cure - it's been seven days, and the bacon has released quite a bit of liquid, it's firm to the touch, and there isn't any sort of smell, like there would if you left any other form of raw pork in the fridge for a week.
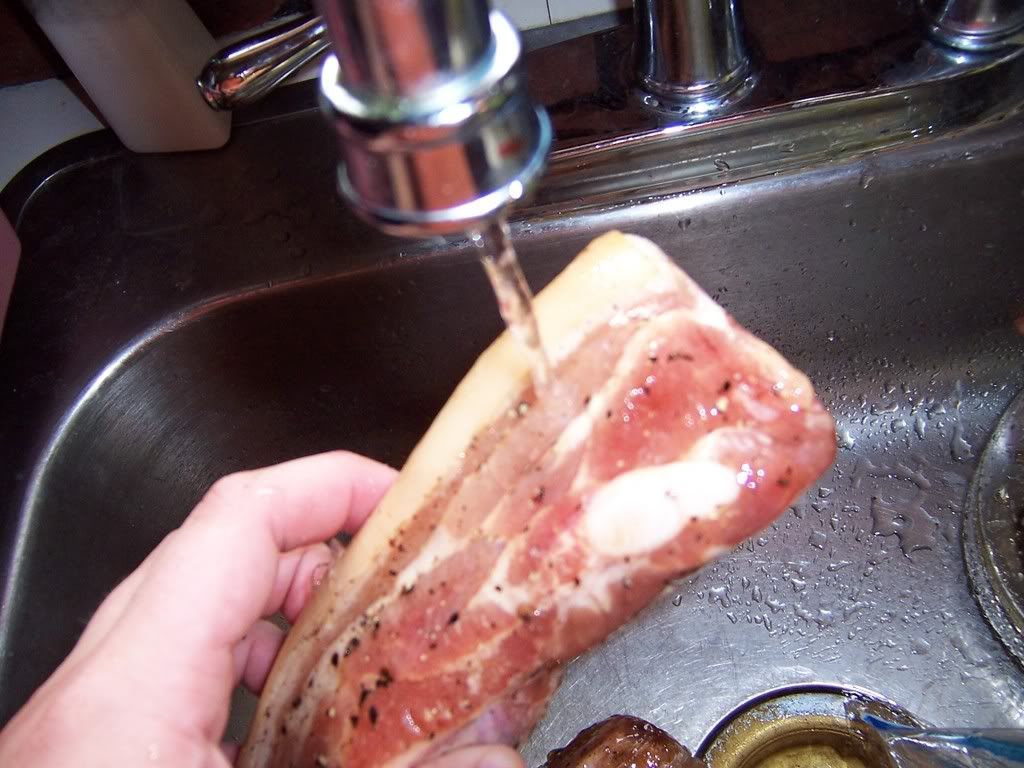
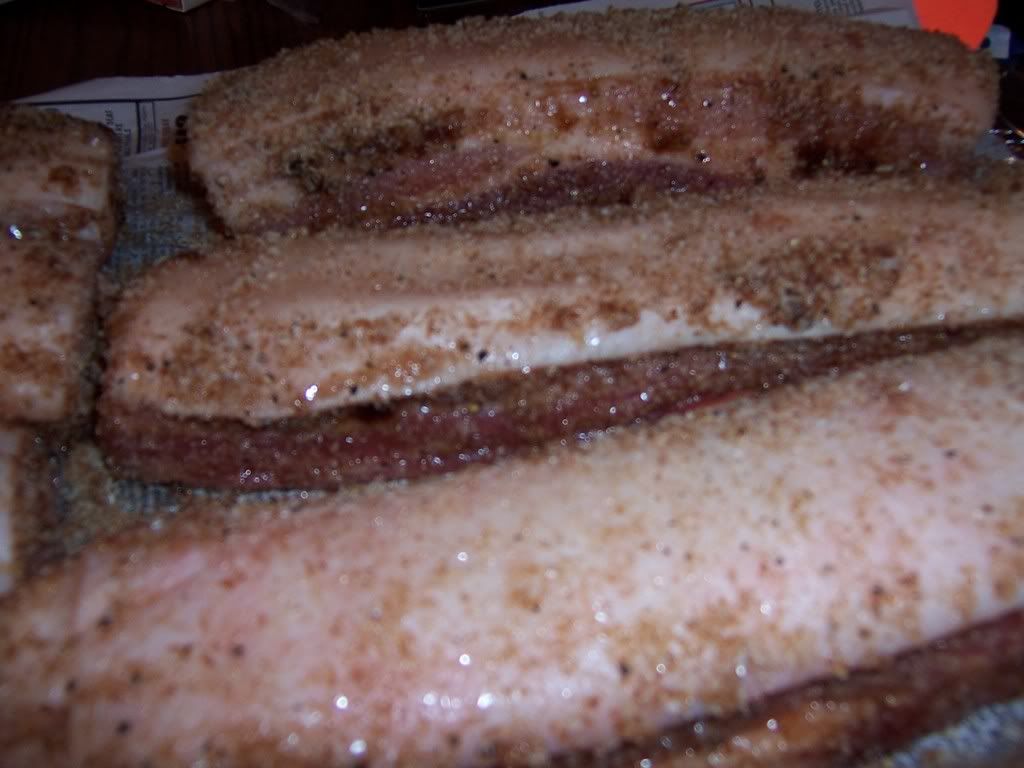
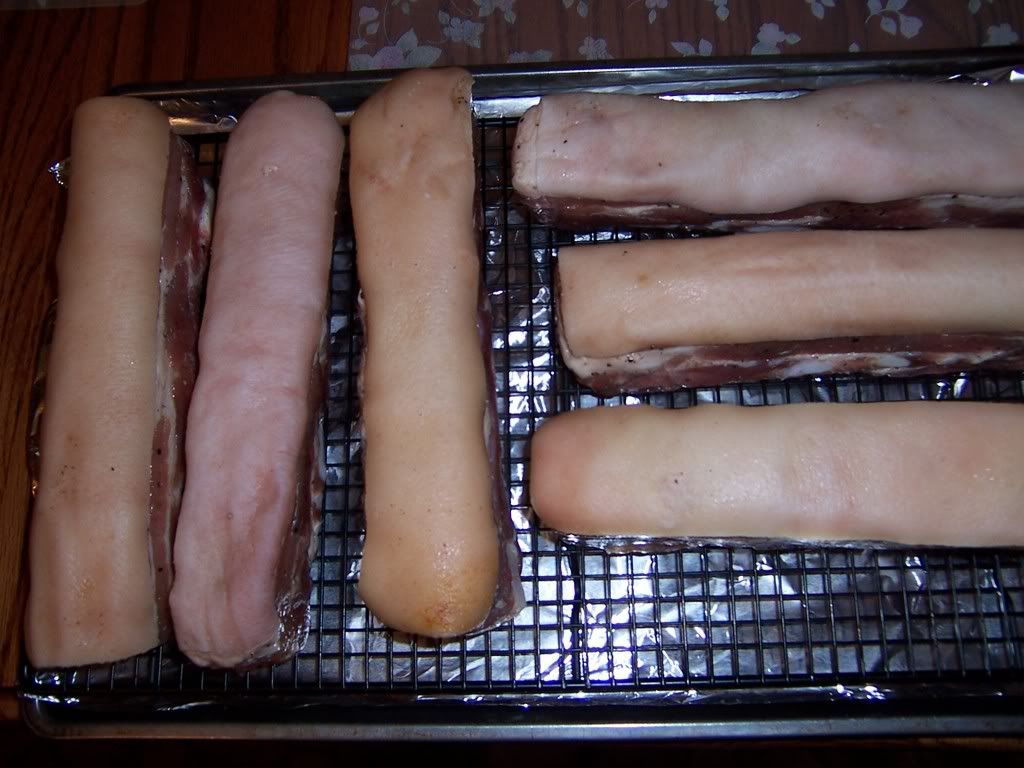
After the rinse, I made sure they were good and dry, and put them on a rack above a sheet pan. We need to let these bad boys sit
uncovered in the fridge for 12-24 hours. This will make the meat nice and tacky, which will help adhere the smoke to it.
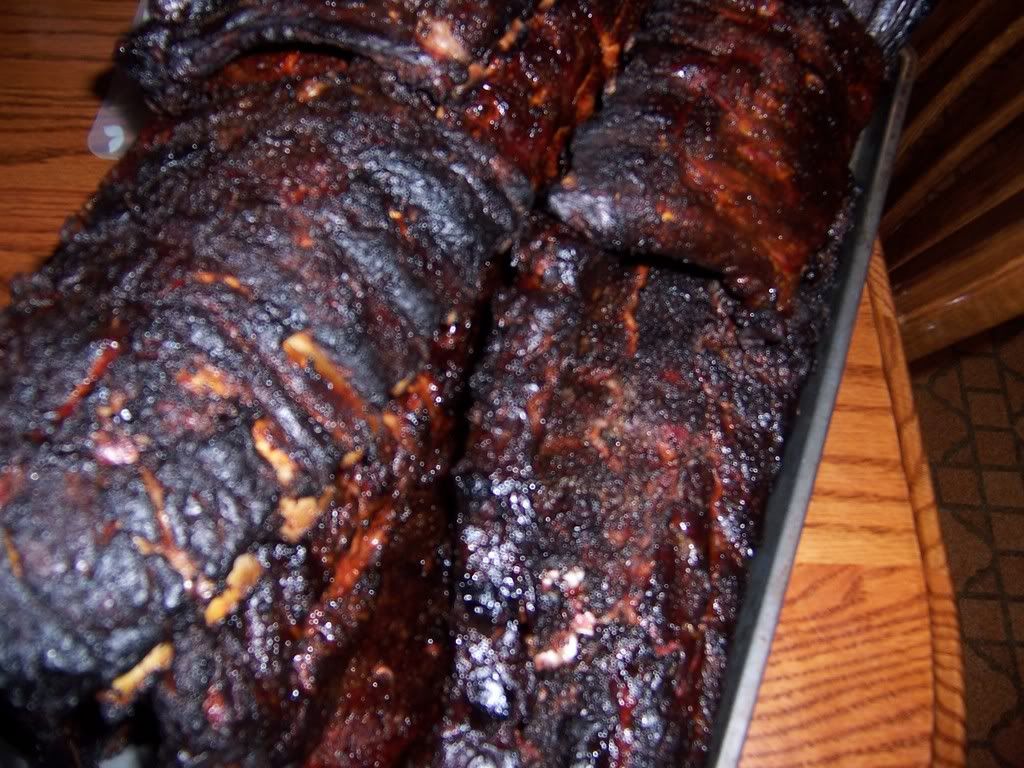
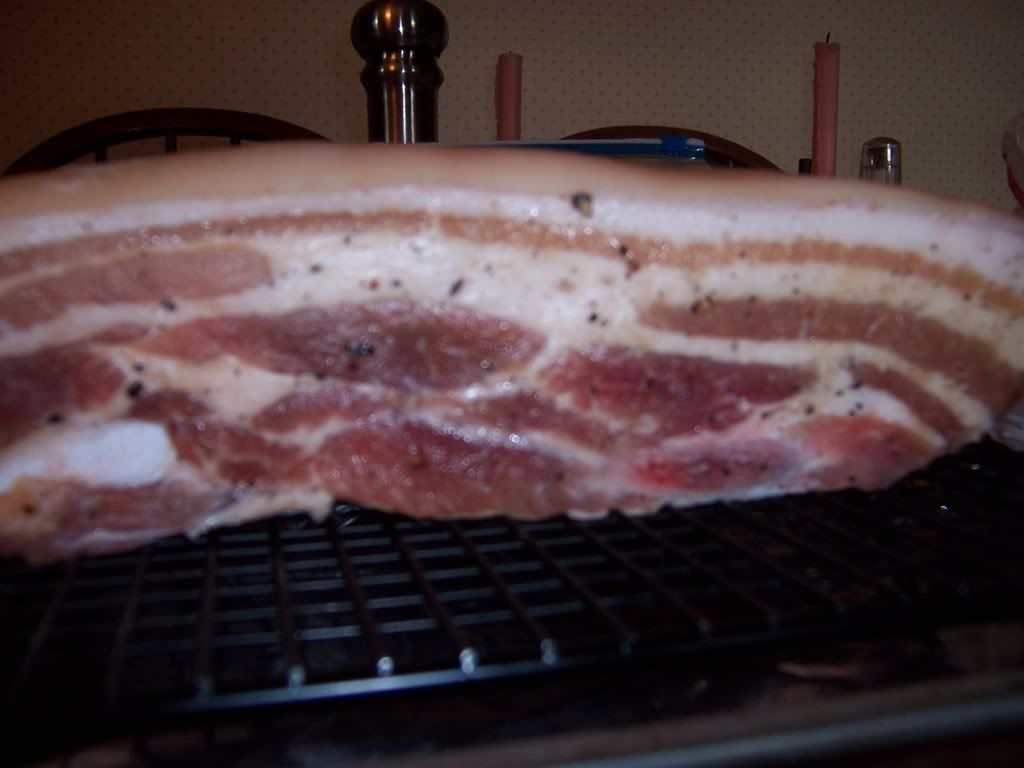
A side view - I couldn't get all that black pepper off, but tough titties......
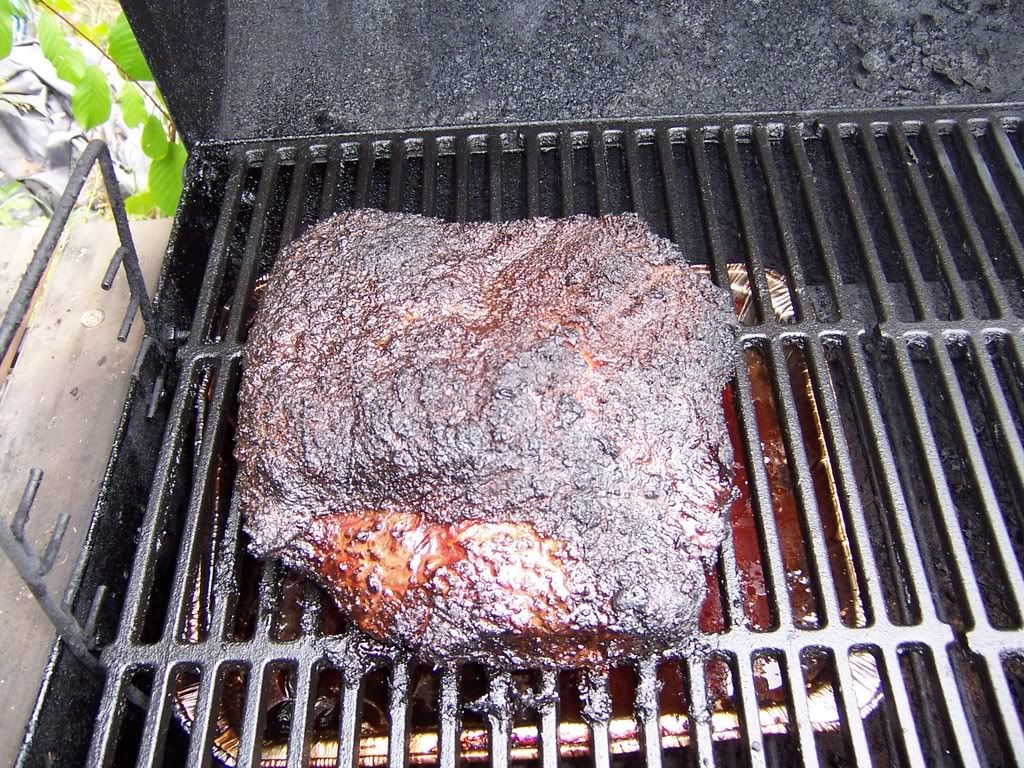
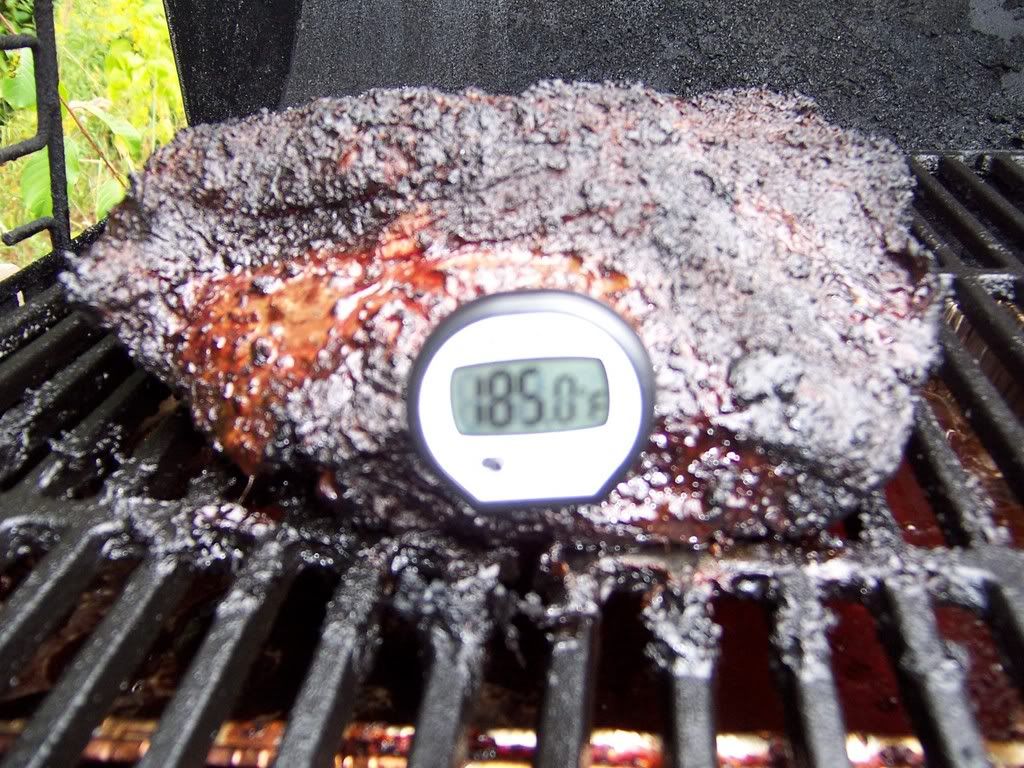
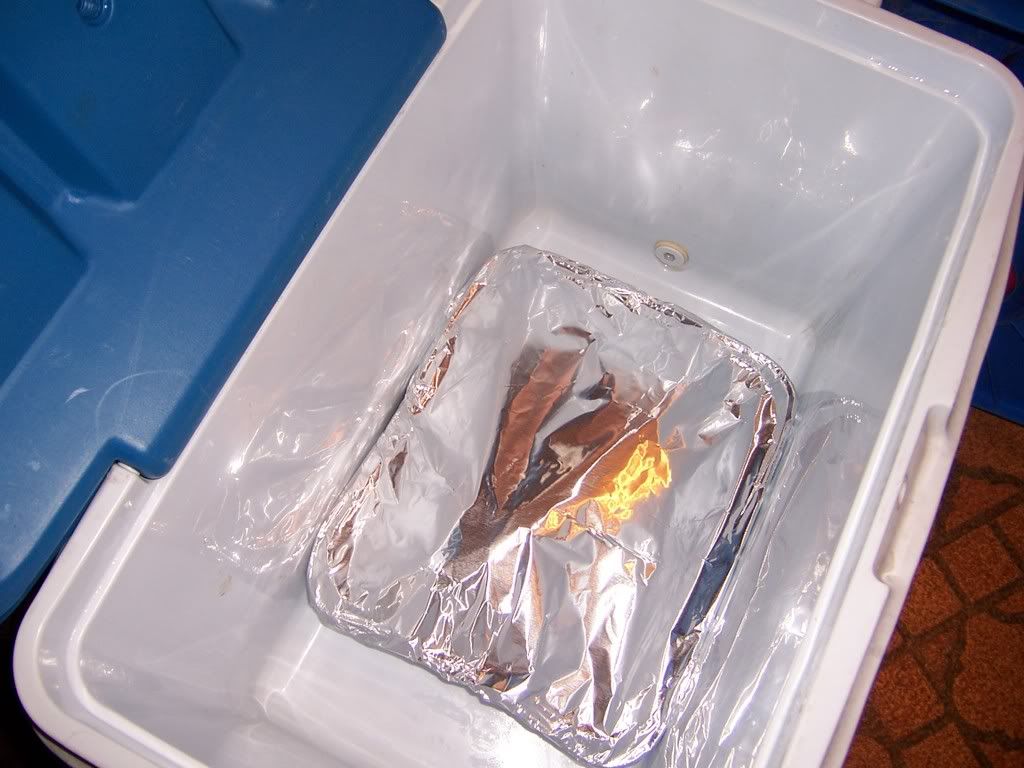
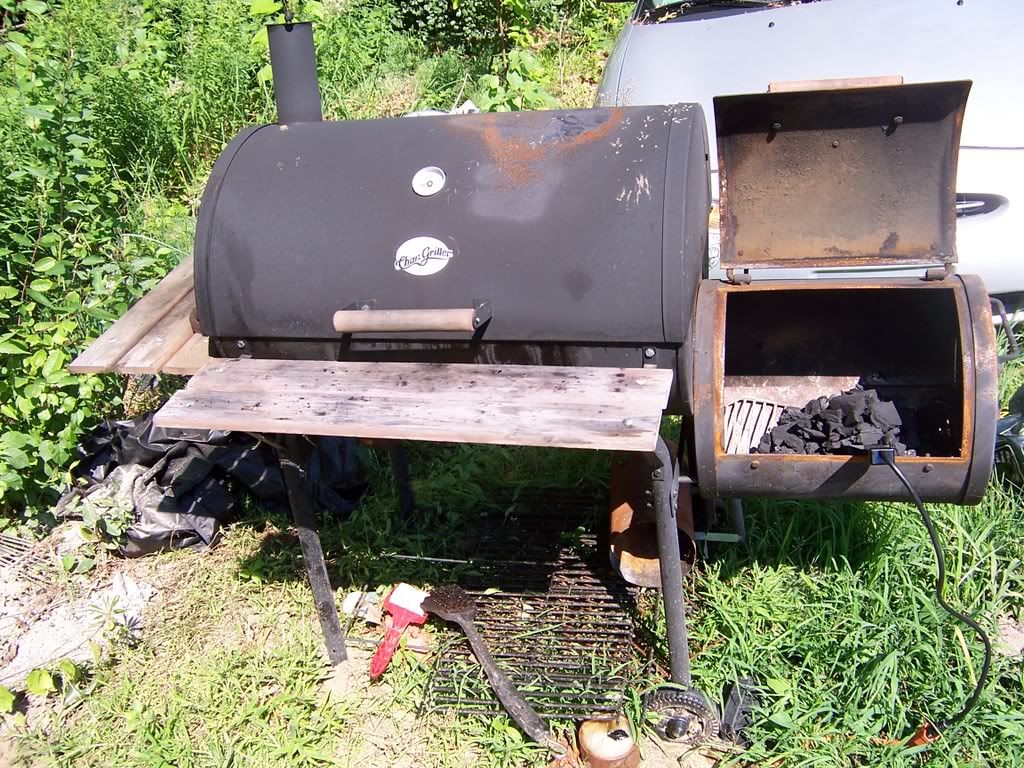
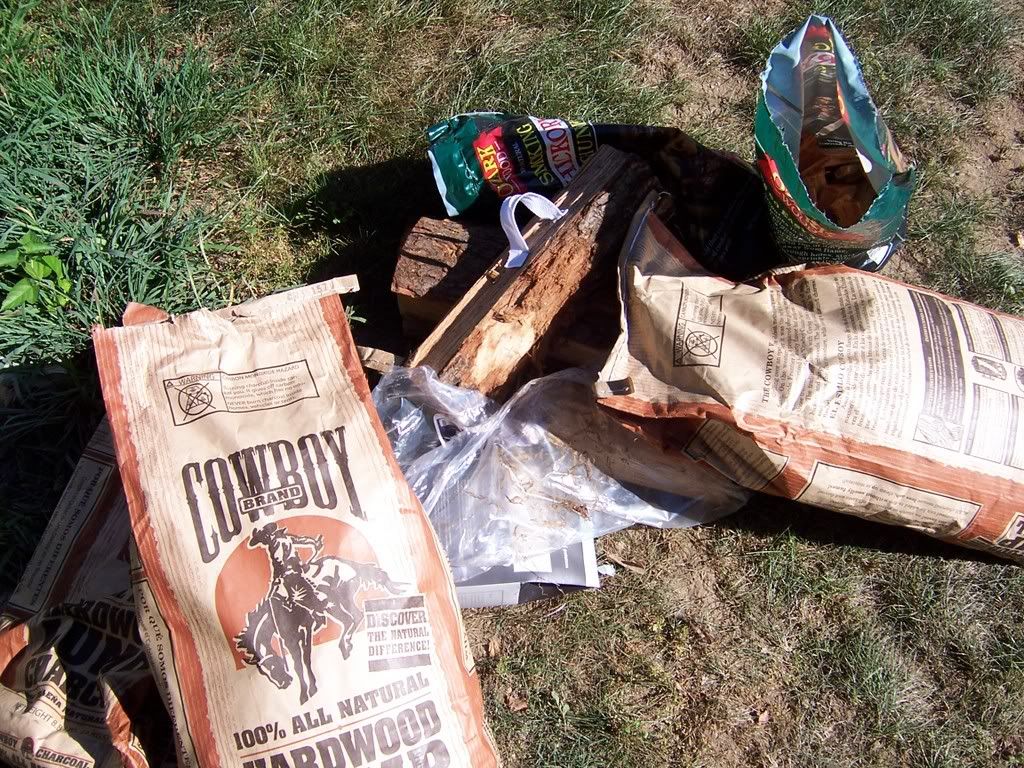
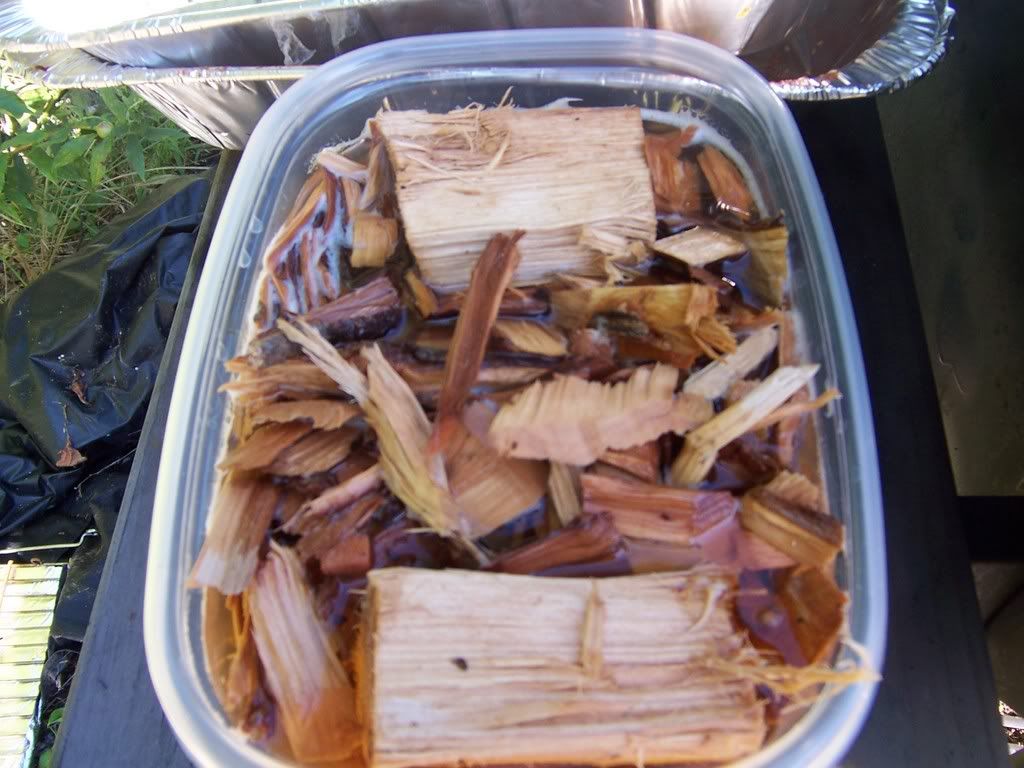
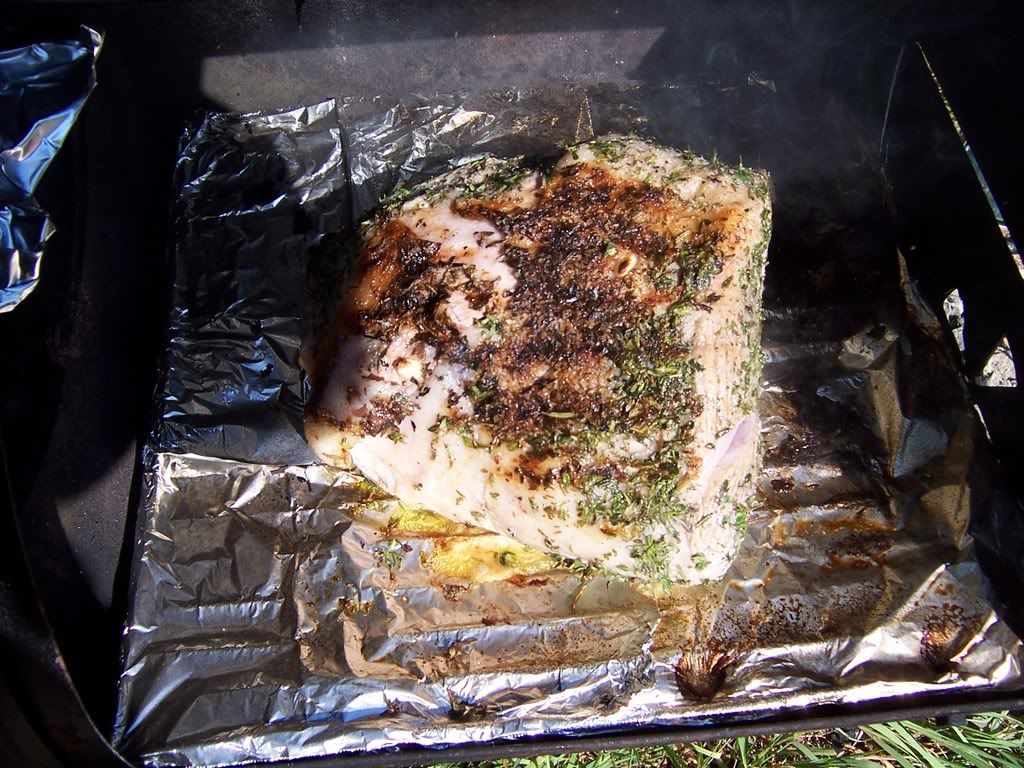
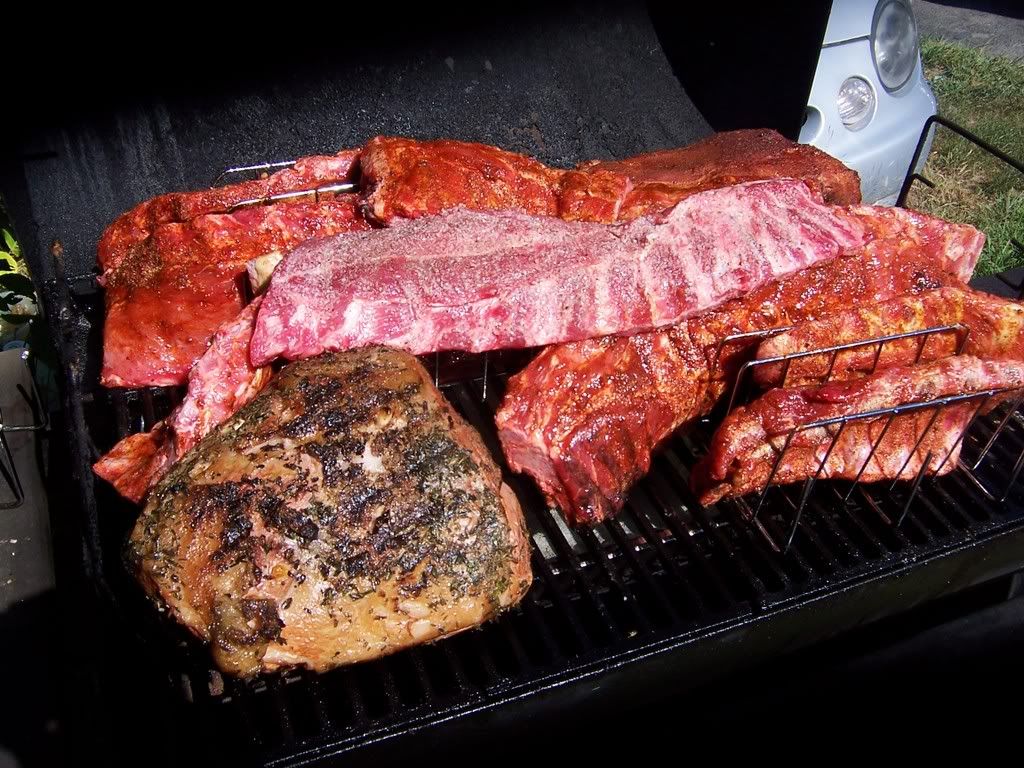
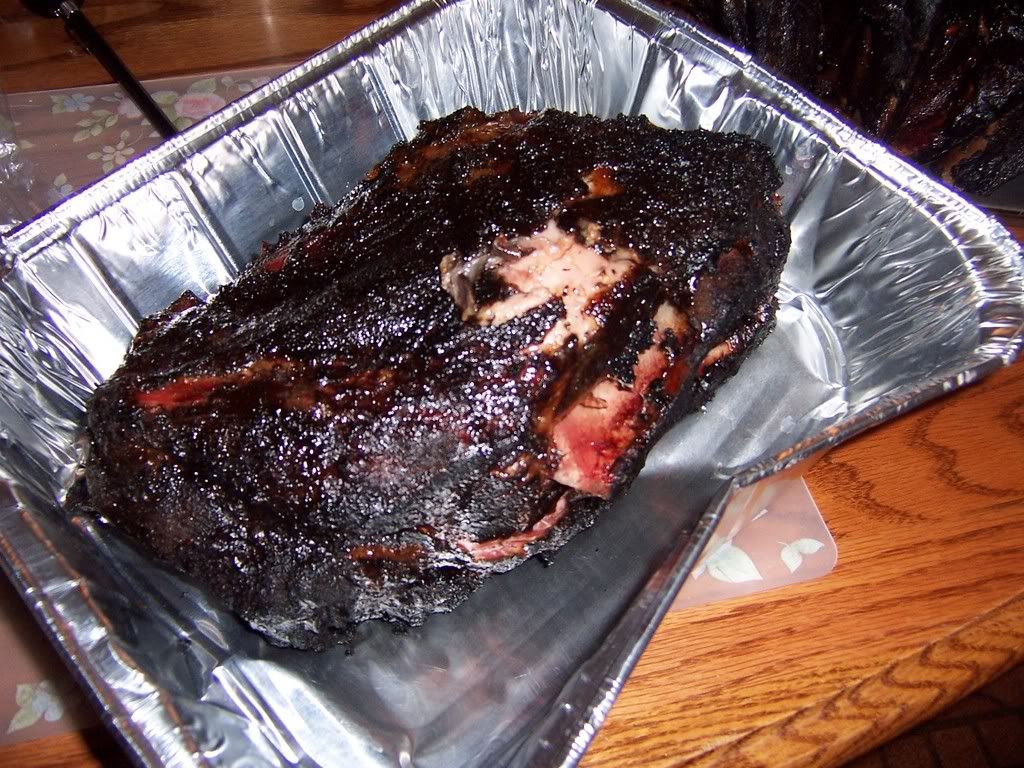
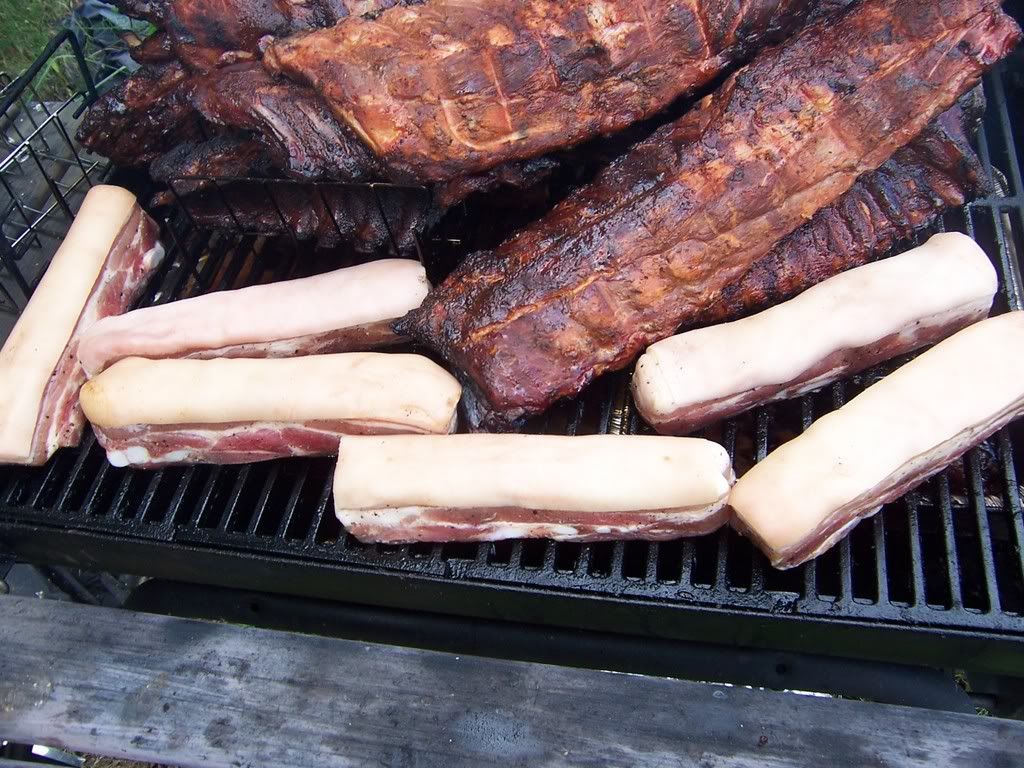
It's Saturday (day 8 for those counting at home), and the smoker is already at a lovely 225 degrees. As you can see, I had to make some room for the pork belly - I need a bigger smoker. I'm using oak and lump charcoal as my main fuel, with beer-soaked applewood and hickory for flavor. The goal is to smoke this until we reach an internal temperature of 150 degrees - this only took two hours because these were thin slabs. I would have preferred this take a little longer in order to make it a little smokier.
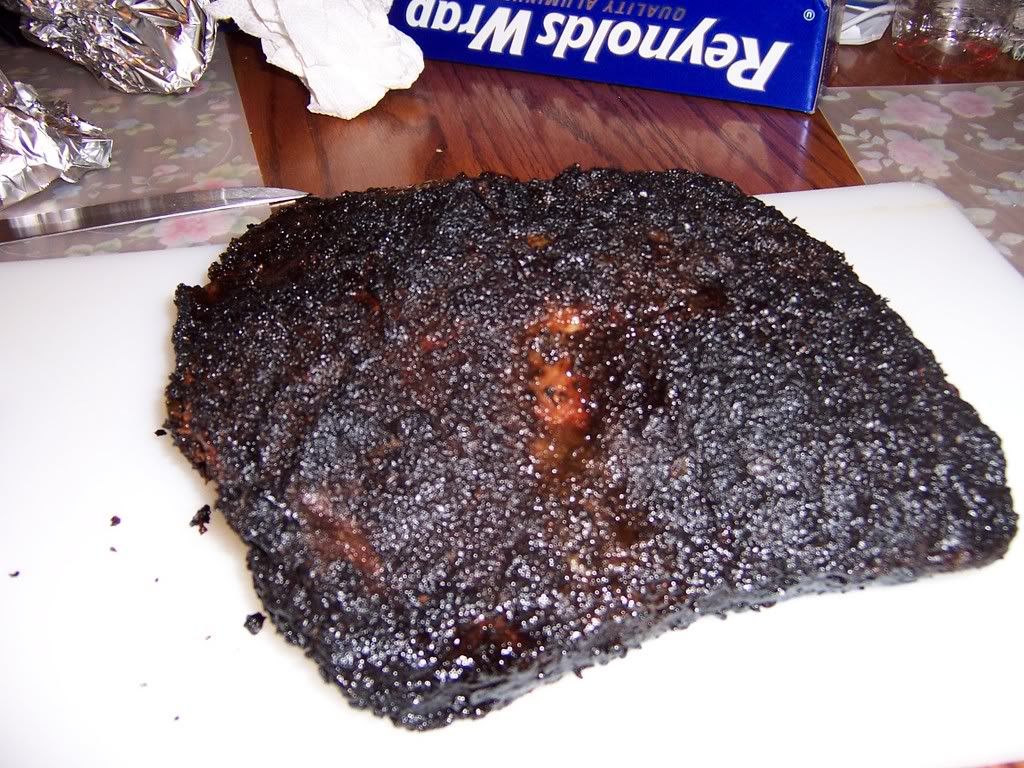
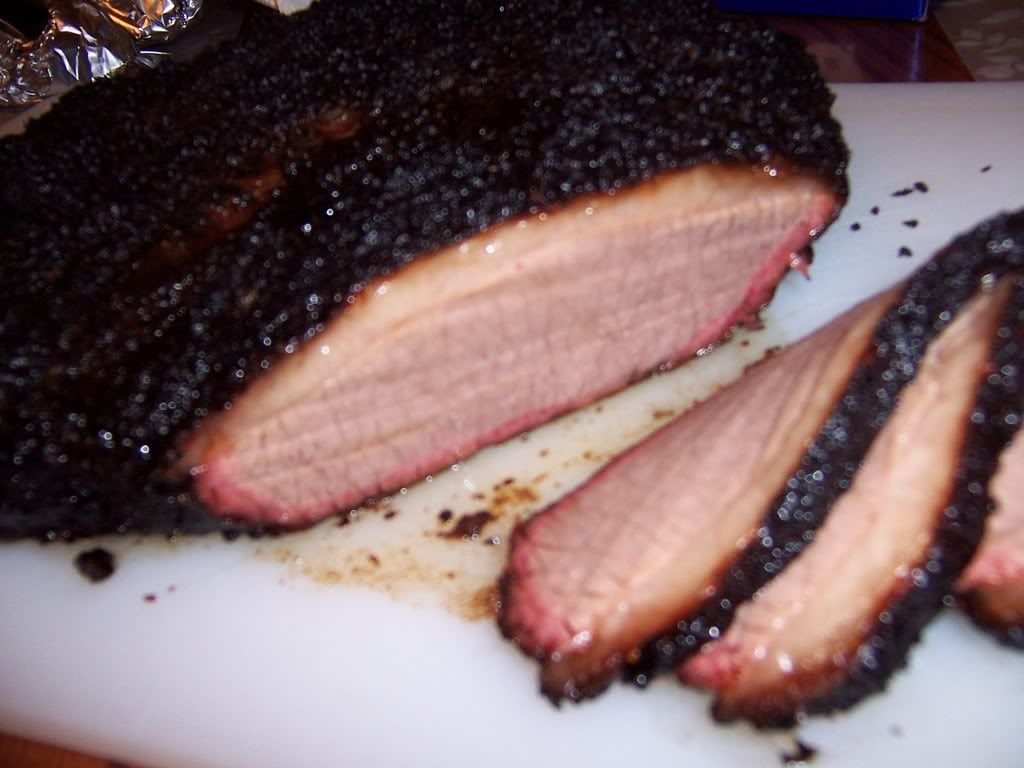
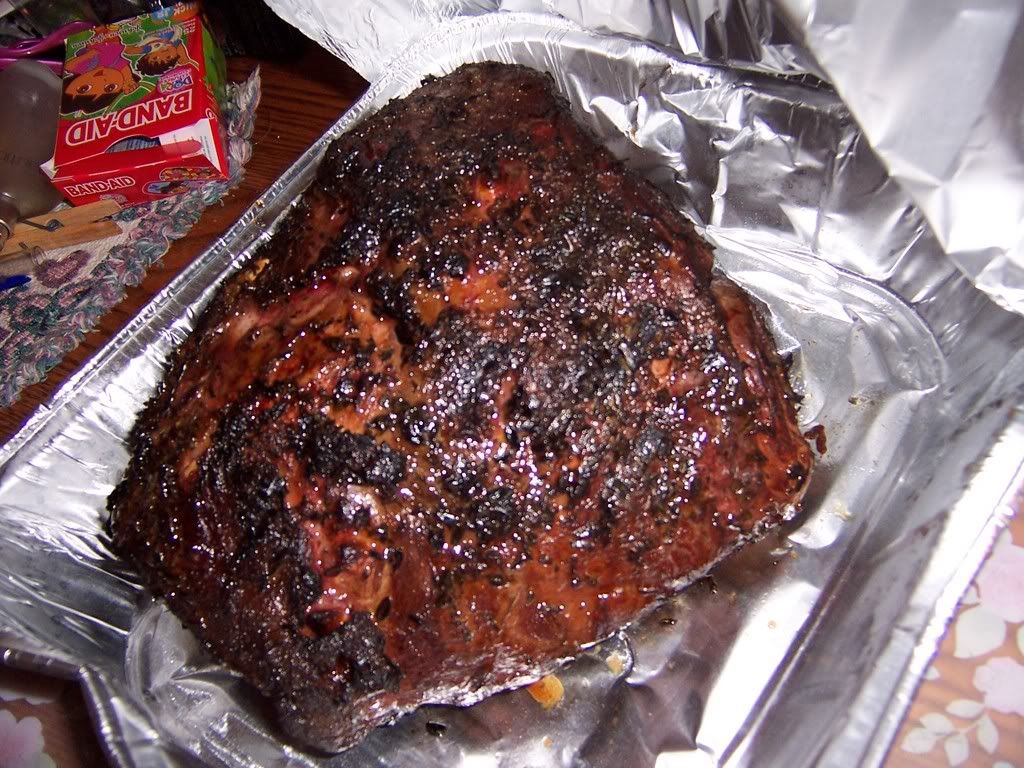
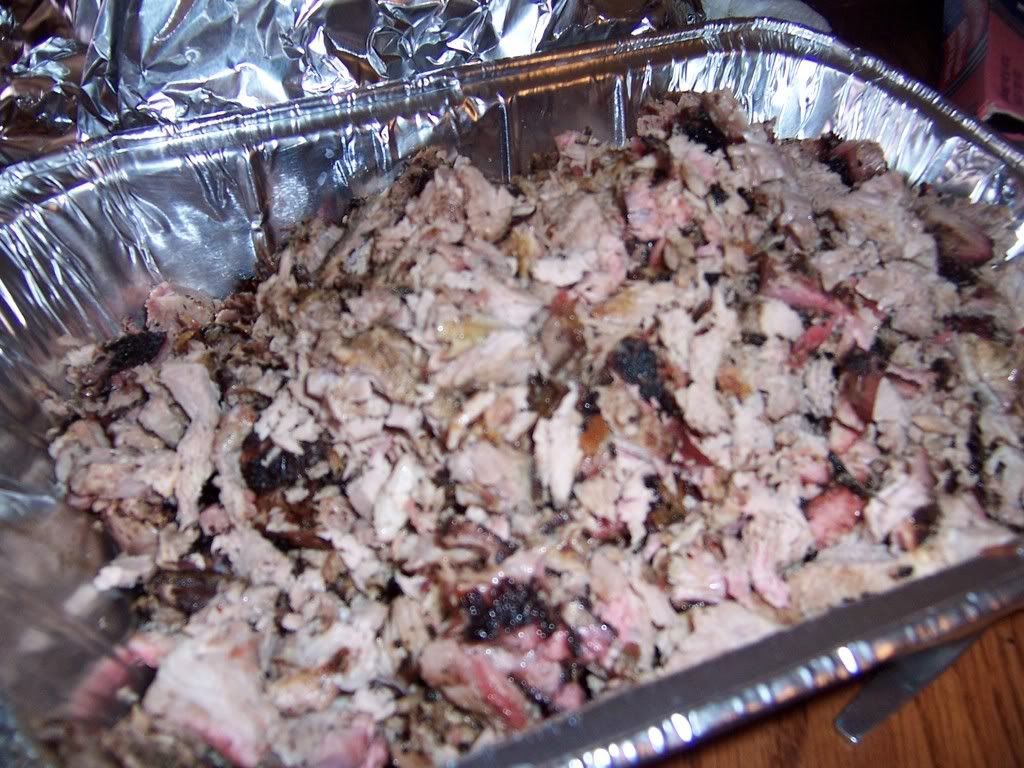
Here they are once off the smoker - we remove the skin (and in my case, the bony section), and slice it somewhat thin. My carving skills suck, so they're pretty thick (and uneven).
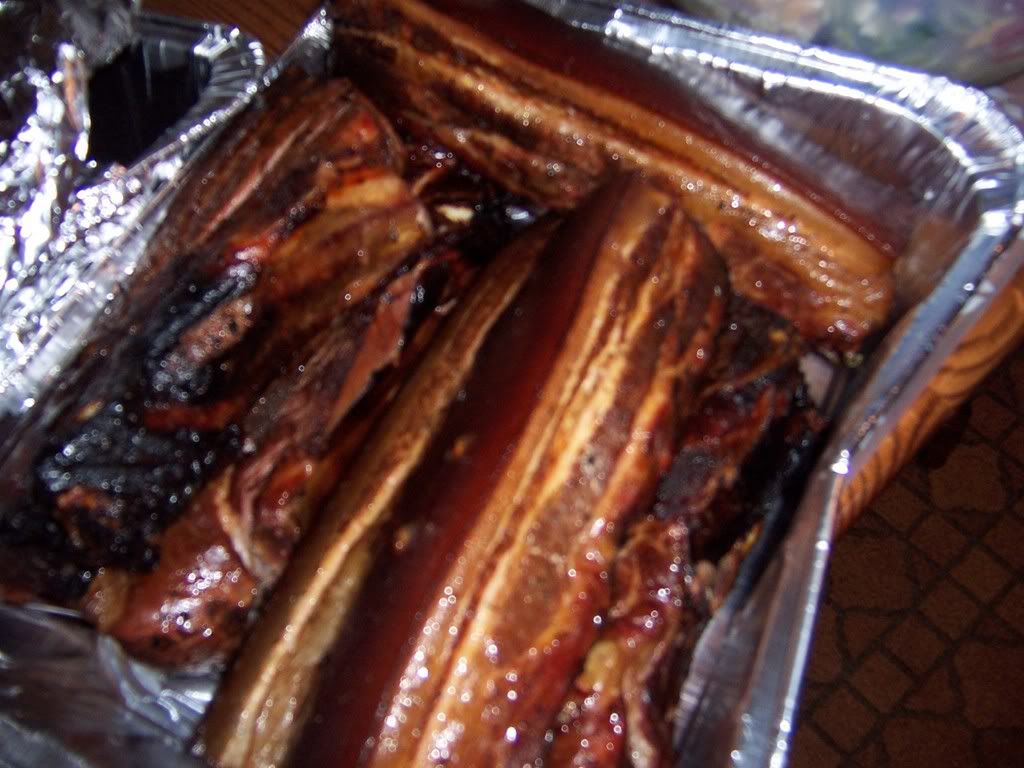
Since we hot-smoked, the bacon is technically fine to eat right now. However, I think some time in the frying pan would be advisable.
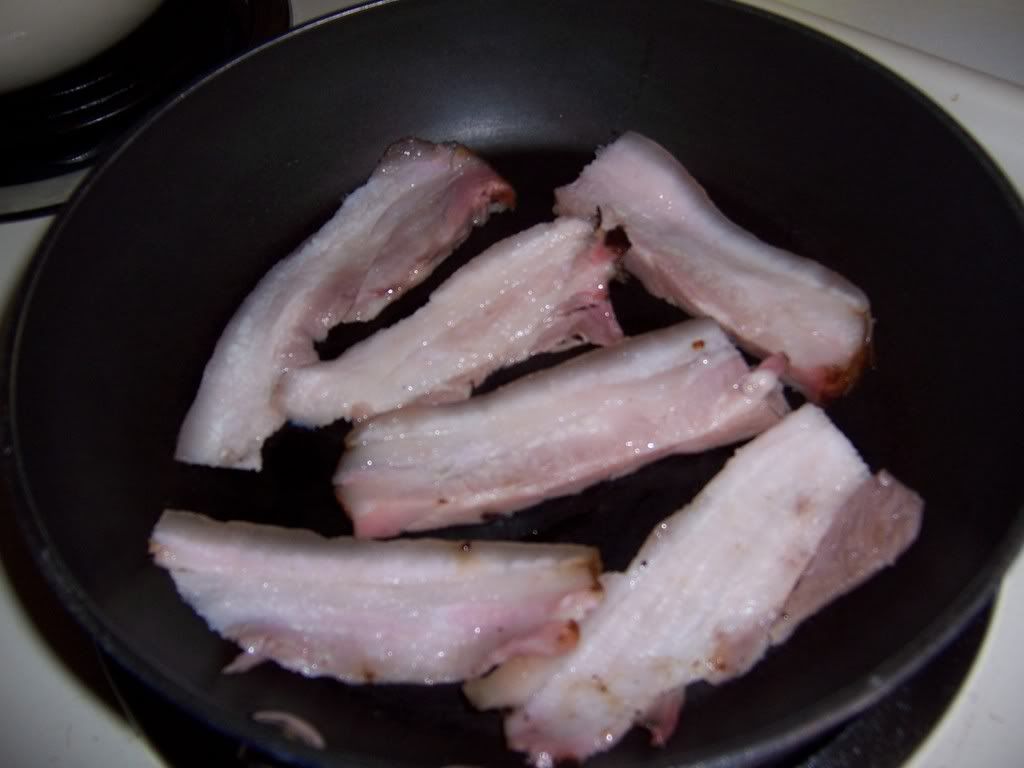
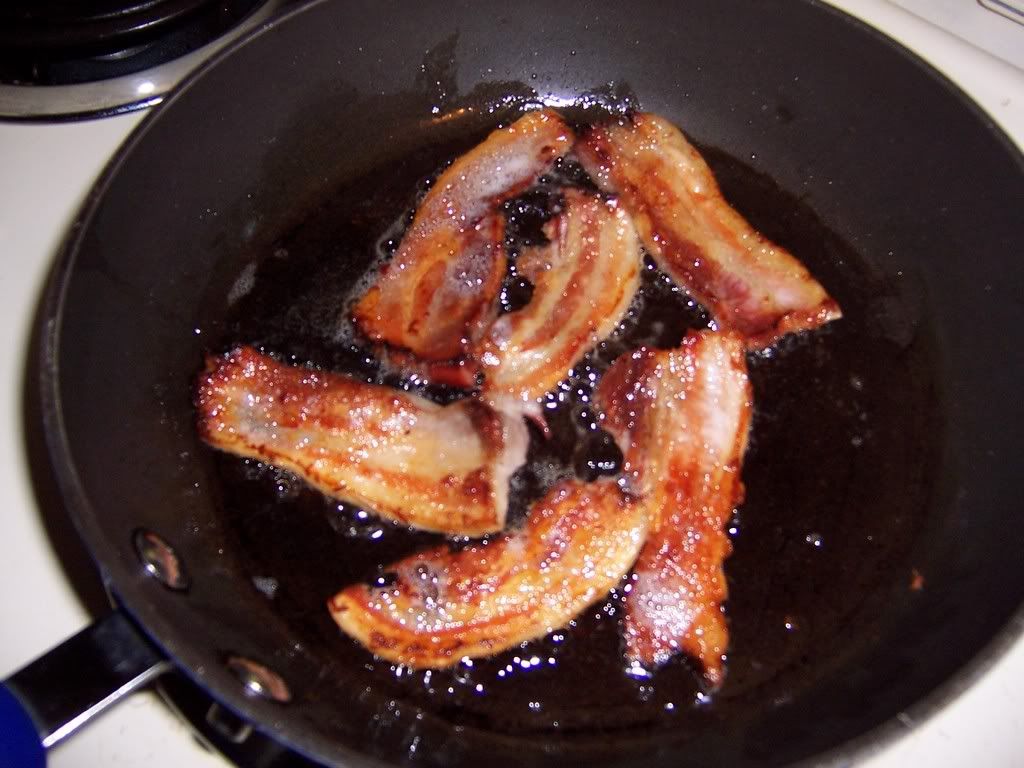
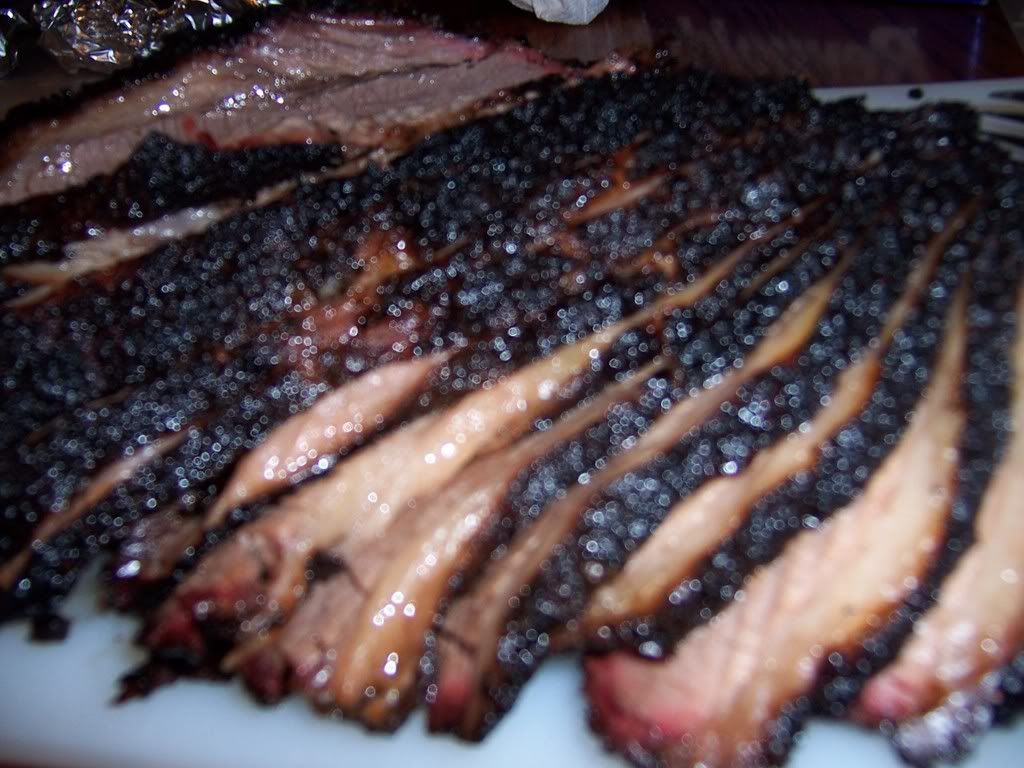
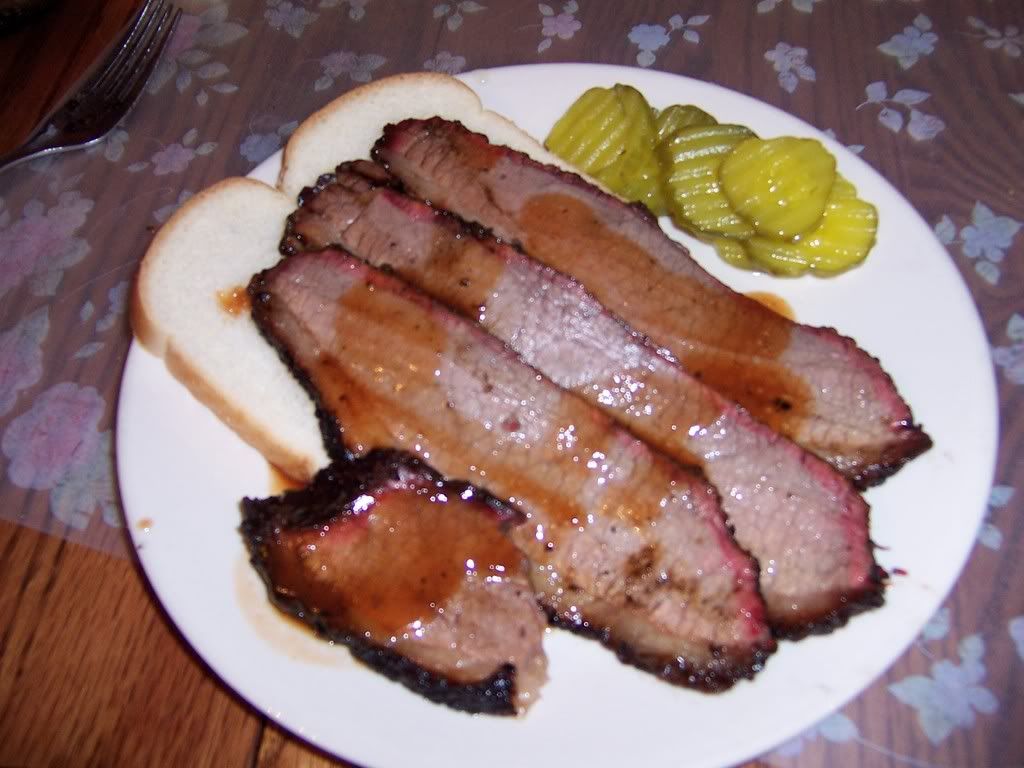
And there you have it. The thicker slices allow you to crisp the hell out of the outside, and still have a slight chew in the center. I'm not gonna lie - I was nervous that this wasn't going to work out, but I'll be damned if this isn't some of the best bacon my fat ass has ever consumed.
Some quotes from those who've feasted on this porky splendor....
It's really yummy ~My 3 year-old niece, who doesn't like anything
Holy shit
~My father
It's a little on the salty side, which might be a result of over-curing. You've also gotta remember that I'm not using at phosphates, nitrates, or any other funky shit in this, just salt and sugar. The maple flavor really didn't penetrate the bacon, but it's still goddamn delicious.
So there you have it - homemade bacon
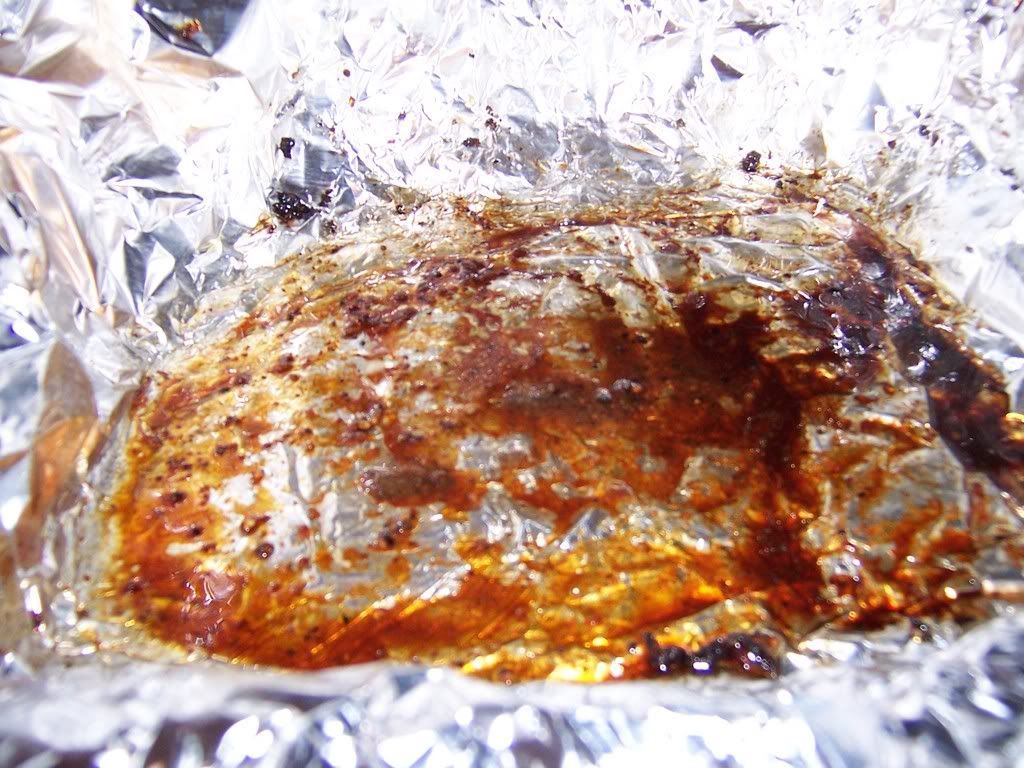
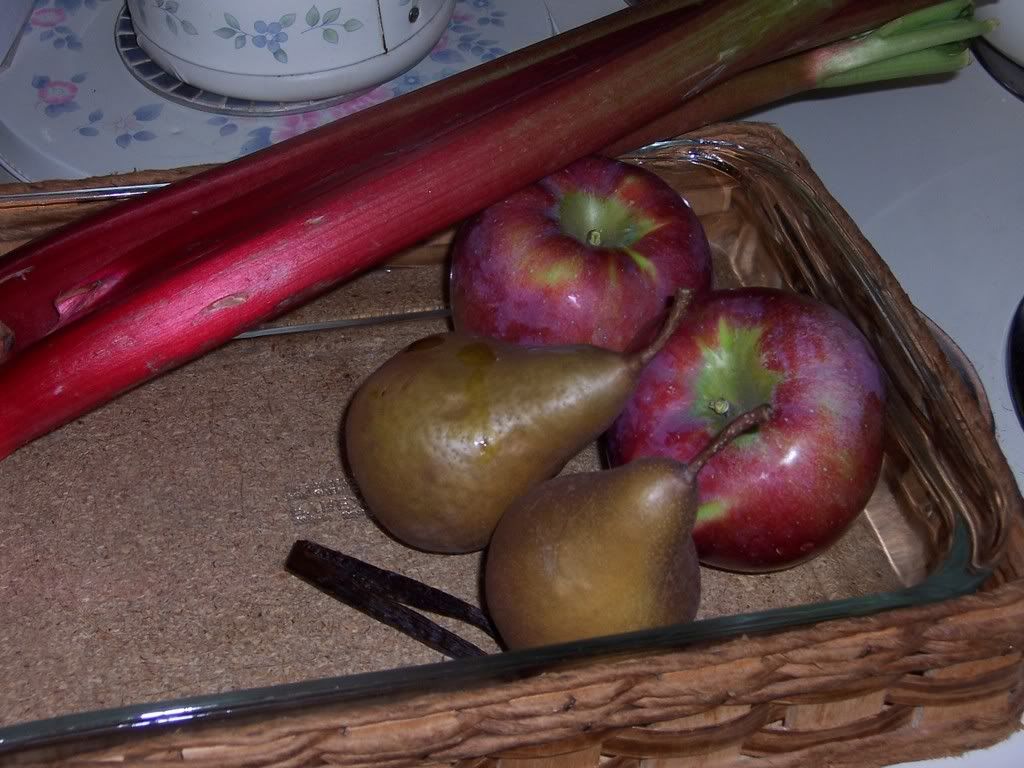 Cut the pears and apples into pieces, obviously avoiding the core. The rhubarb should be split down the middle and cut into five or six inch long sticks.
 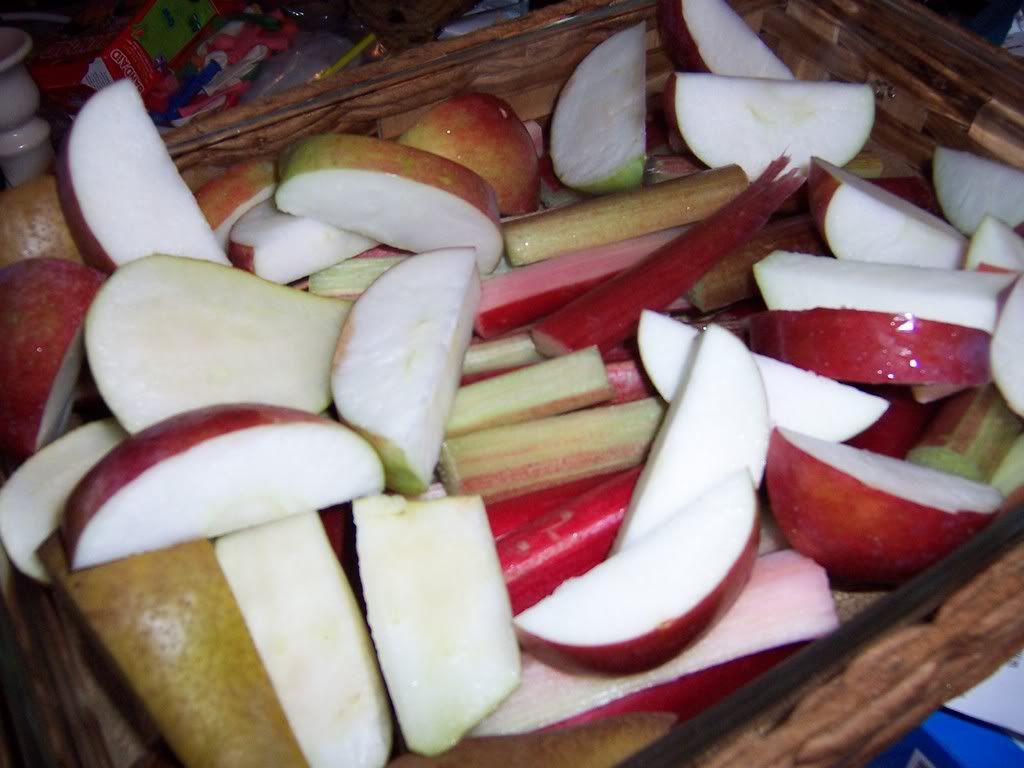 You're supposed to split the vanilla bean, scrape out the insides, and toss the insides and the rest of the bean in, but my bean was like 3 years old and all dried out, do I just broke it into pieces. Throw that along with about 3/4 cup of sugar and 1/2 stick of melted unsalted butter together in your baking dish.
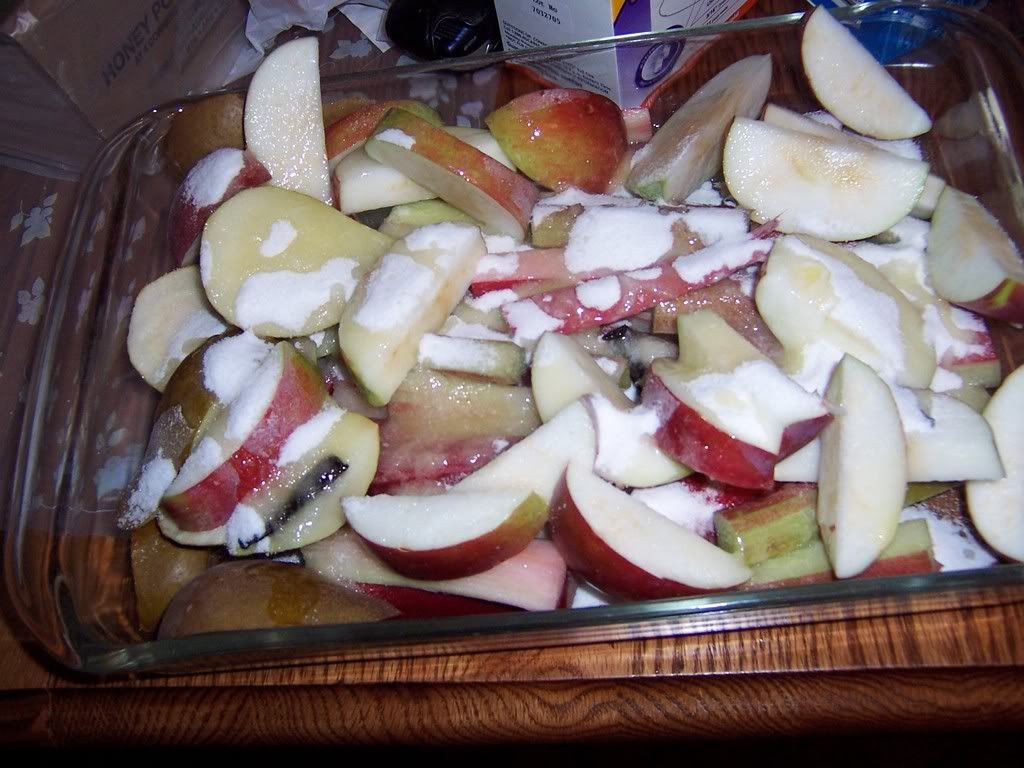 Toss this into the oven, which has been preheated to 350 degrees for 25-45 minutes, or until everything is nice and tender. You'll notice that the fruit juices, sugar, butter, and vanilla have combined to make a delicious sauce.
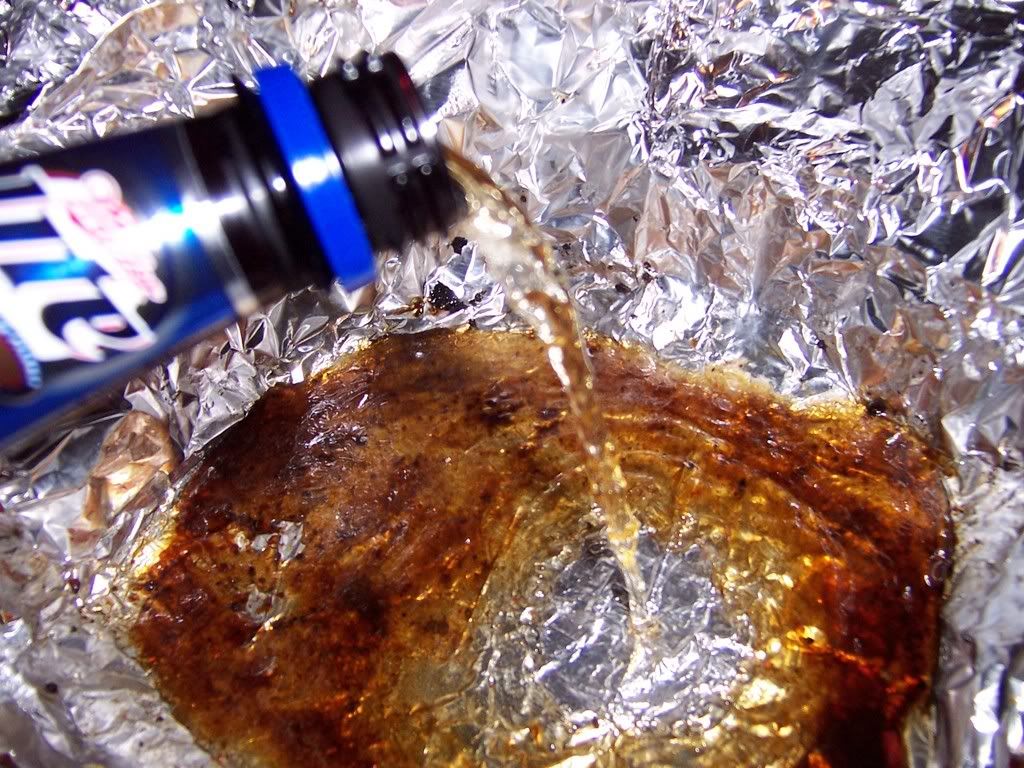
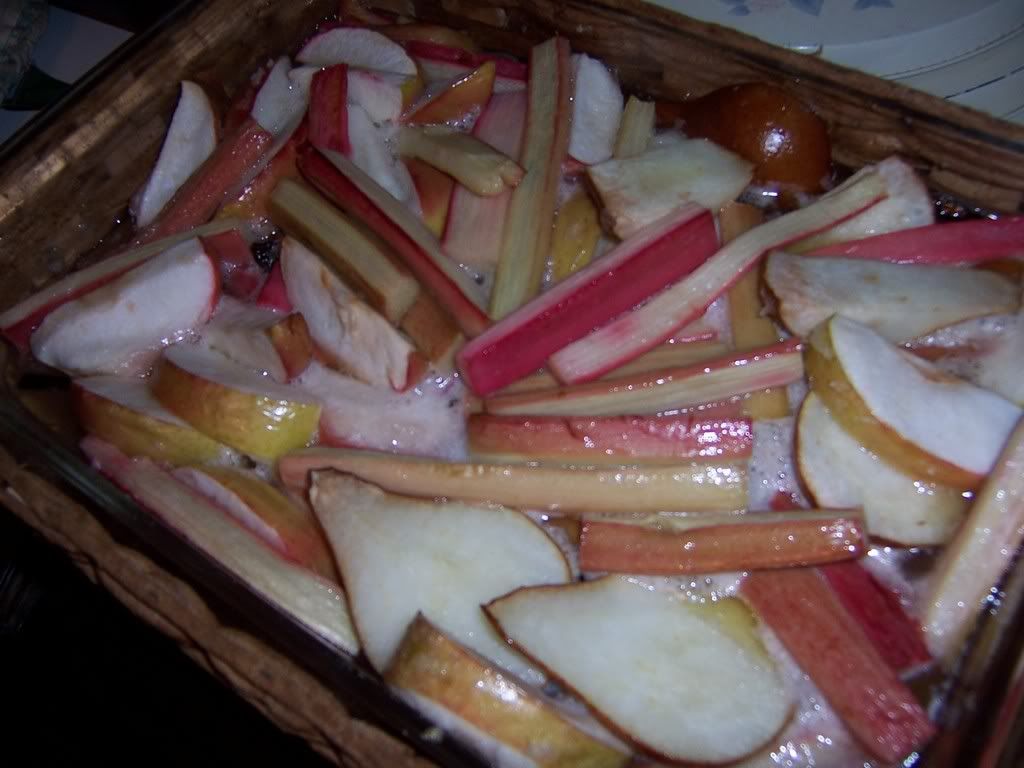 Next comes the sabayon sauce. The original recipe called for grand marnier, but I only have cheap triple sec at the house. So I used some of this goodness instead:
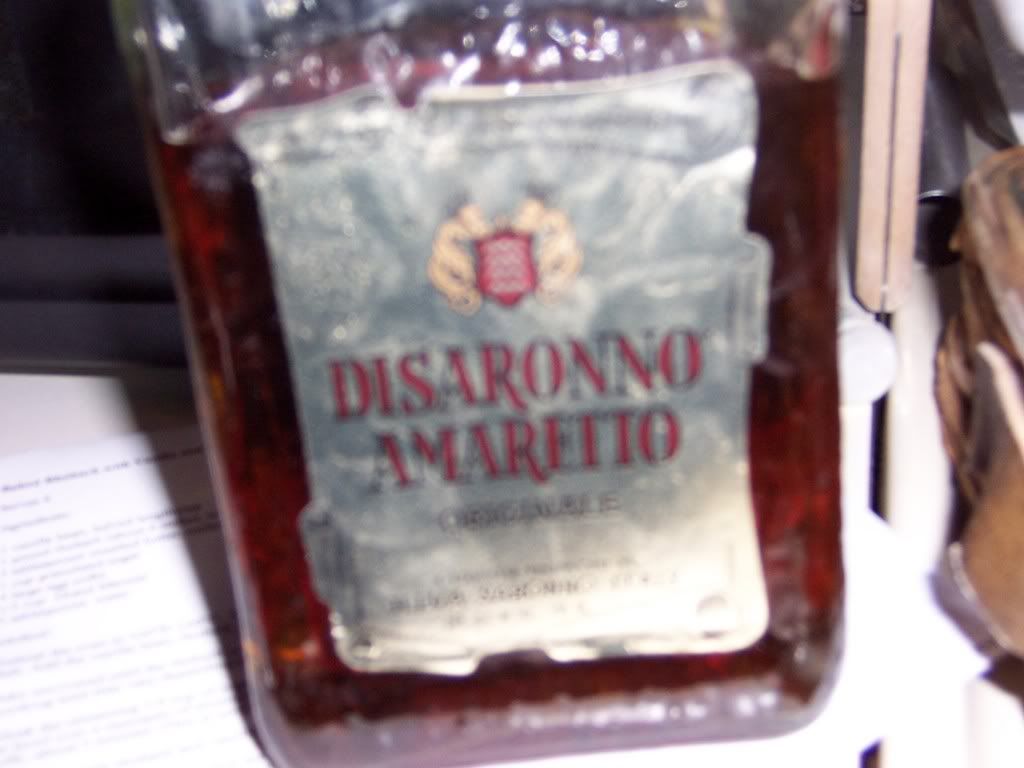 The sabayon sauce, while it has a fancy name, is actually pretty easy to make. We only need 4 egg yolks, 1/2 cup sugar, 1/3 cup amaretto, and a couple tablespoons of water.
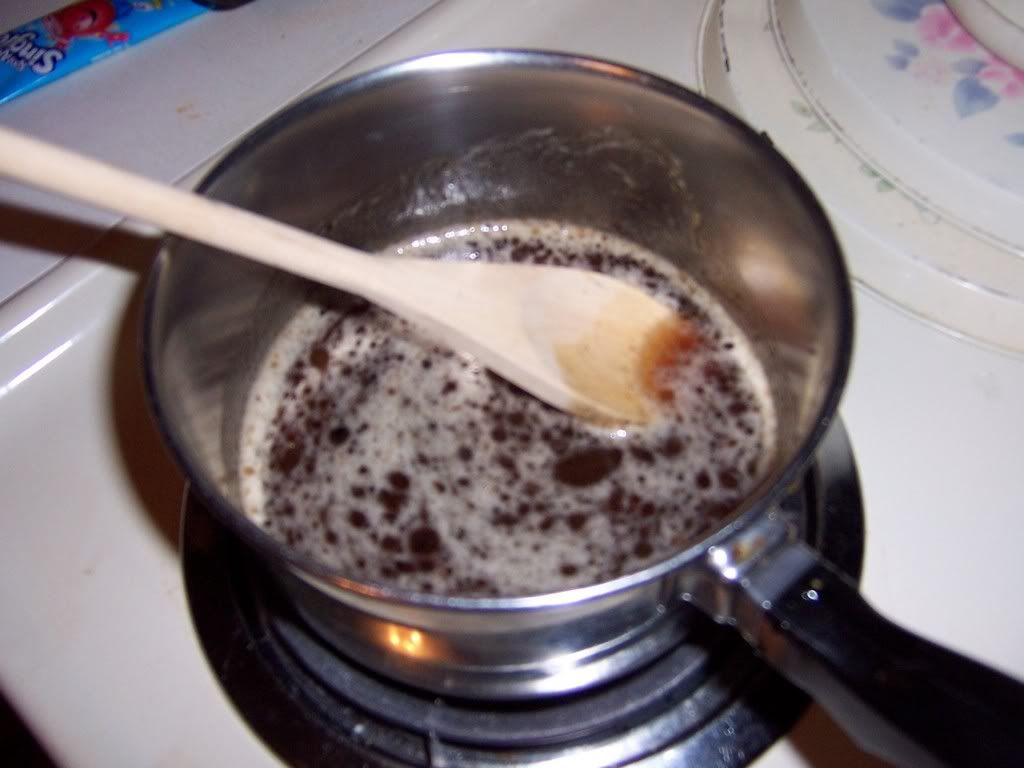
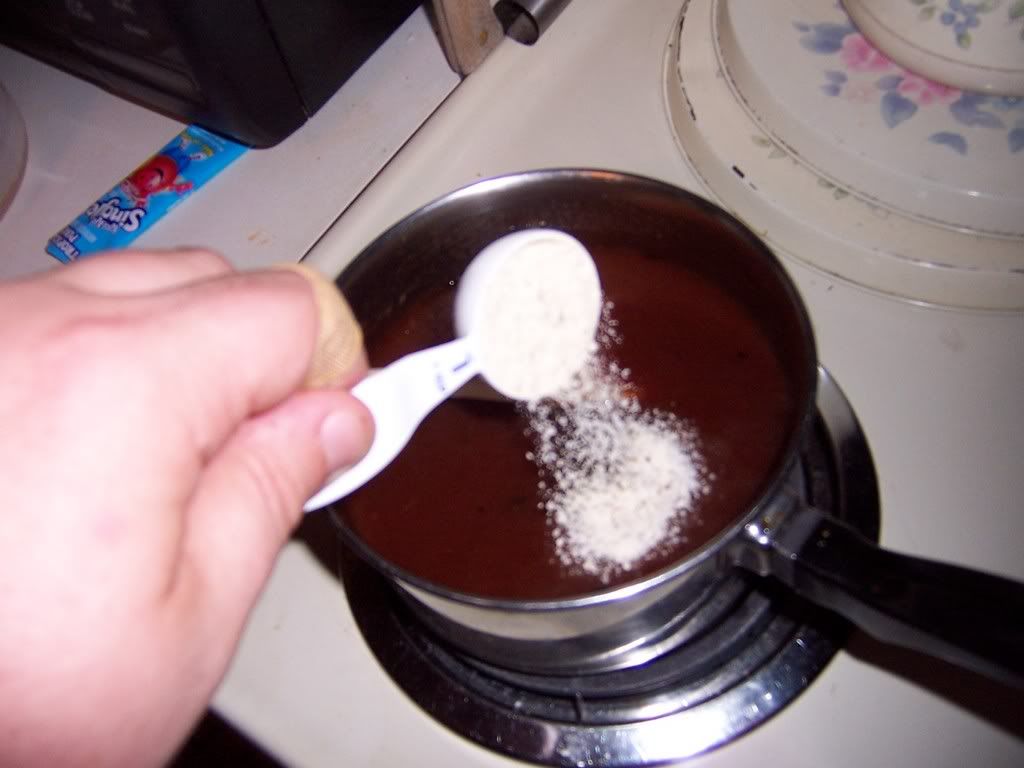
 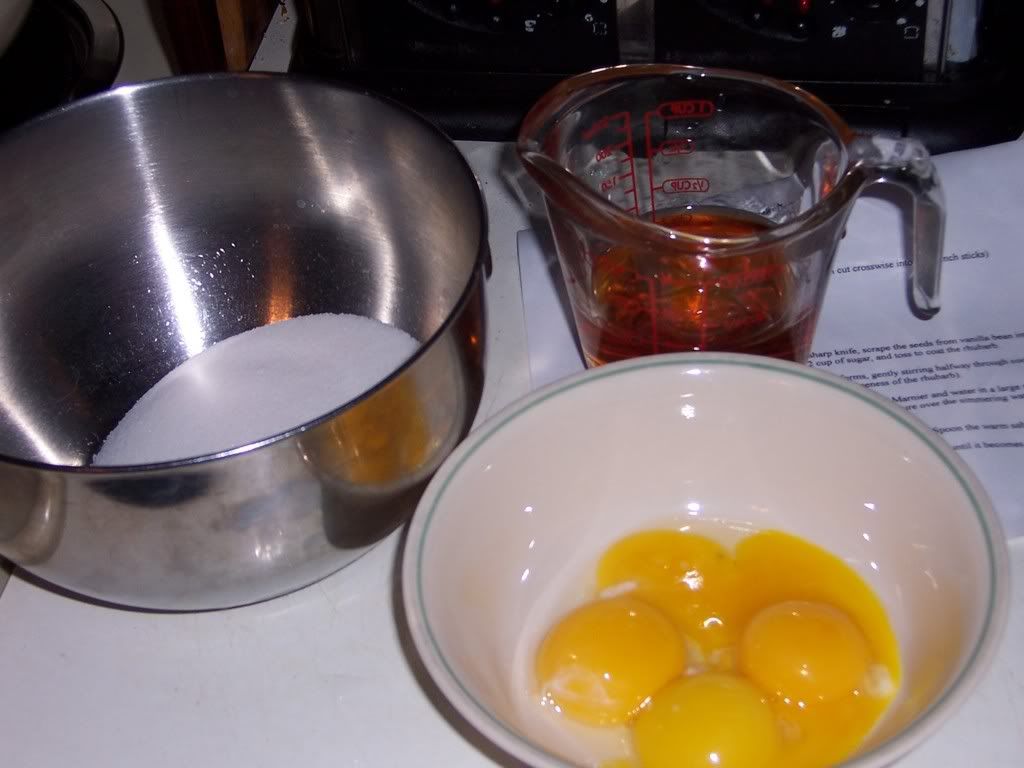 You'll notice that the sugar is in a stainless steel bowl. There is good reason for this - we need to cook this sauce over a low, gentle heat, or we'll end up with sweet scrambled eggs. Place your metal bowl over a saucepan of simmering water. Commence whisking like crazy for the next 5-10 minutes.
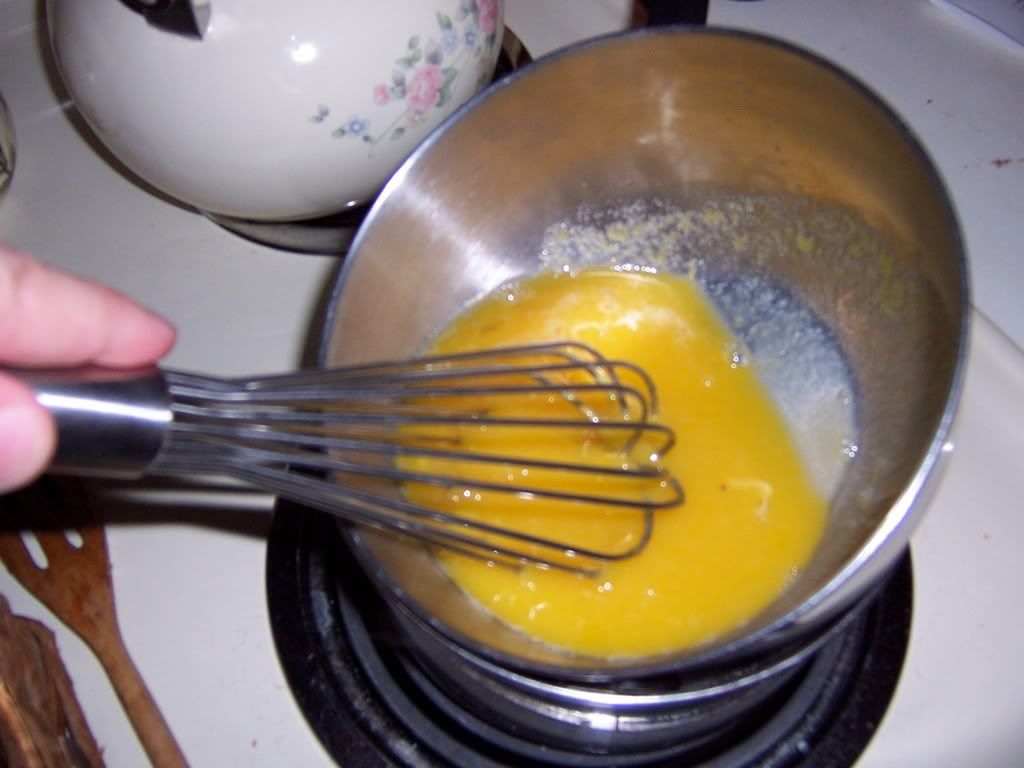 If you didn't fuck anything up, your sugary, alcohol-laden egg yolks will have magically transformed into a delicious sabayon.
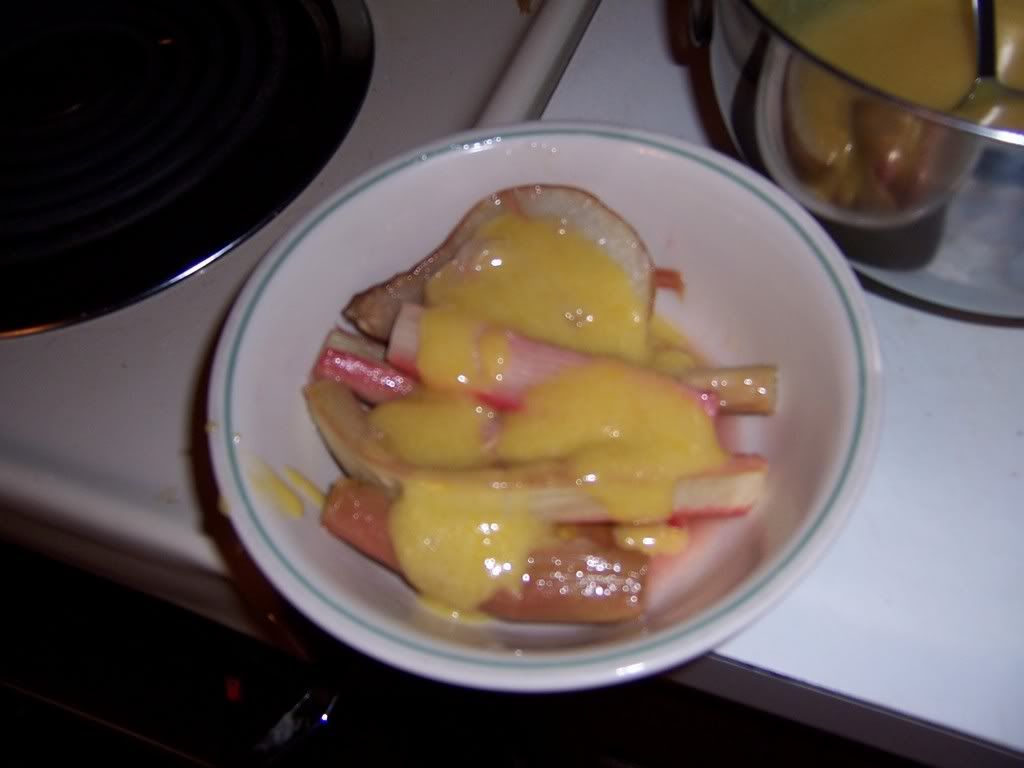
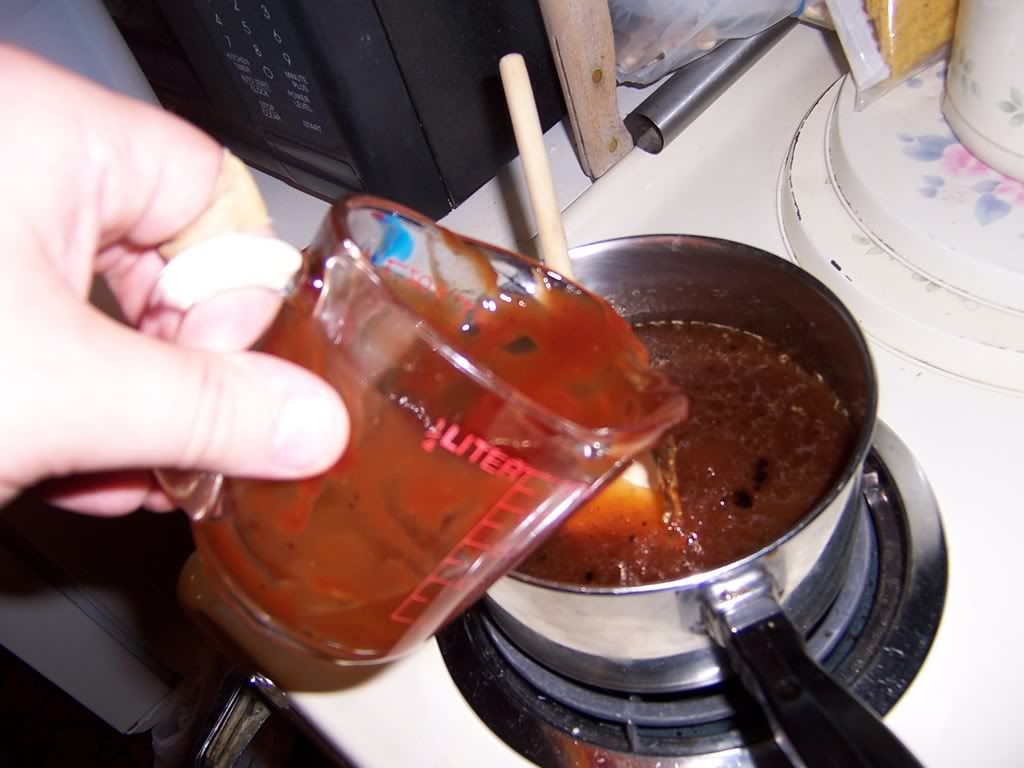
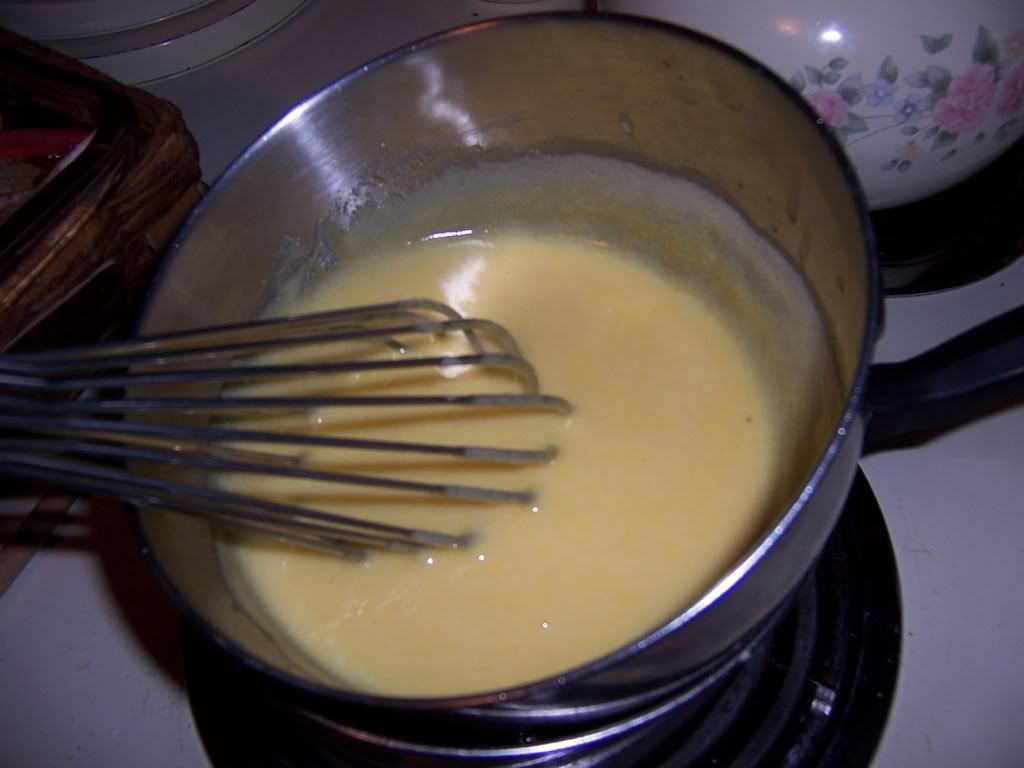 Spoon some of your fruit (with the vanilla sauce) into a bowl, and top with your sabayon.